Wednesday, July 31, 2019

Simon Says...........Anything Goes

Happy Wednesday - welcome to our challenge at the Simon Says Stamp Wednesday Challenge Blog!

wed-newchallenge-header


This week it's Anything Goes, and my teamies and I are playing with Penny Black goodies!  We'd love to see you using them, too, but you can use anything  you'd like, as long as you follow the theme. 


supplies: white and Audrey Blue cardstock, Bristol paper, Penny Black Peaceful Time stamp set and Stitched Stackers die, Spellbinders Hemstitch Rectangle die, Zig markers and water to color, tumbled glass distress ink and water, adhesive foam squares

There is a matching die for the bird set, if that's your thing, but I just took my time and cut it out myself with my little scissors, then popped it above my base.

Now it's your turn!  We have a $50.00 gift certificate 

50dollar_voucher_600px

to the amazing Simon Says Stamp store for 1 lucky random winner of this week's challenge!  I can't wait to see what you all make this week!


Tuesday, July 30, 2019

Love & Hugs

Hi crafters!  Today I have a card using my new Antique Rose Label Die from Memory Box, which I fell in love with at first sight......


supplies: watercolor paper, white and aqua cardstock, Memory Box Antique Corner Rose Label, alcohol markers to color, sentiment from Simon's Beautiful Flowers, Sunny Studio Quilted Heart embossing folder, Paper Smooches Fab Frames die, tiny heart sprinkles

Once again I used THIS technique to color my first cut of this die, then mounted it on an embossed panel framed in scallops.  

Thanks so much for stopping by.  Enjoy your day!

Monday, July 29, 2019

Summer

Here's a card inspired by the happy colors of this card by Laurie Schmidlin.


supplies: white, 2 shades of teal, 2 shades of orange, 2 shades of lime cardstock, adhesive white foam, striped dp from Doodlebug Sweet Summer, MFT Scribble Roses Overlay dies, Simon Single Roses leaves and Four Seasons dies, Memory Box PinPoint Rectangle die, lime sequins

I cut 2 of each shade of each color for the flowers.  While the die was still attached to them, I used single-sided tape to hold everything together on the back.  After releasing the flower from the die, I cut it again in a different shade and used only the outline over the full flower.  I similarly mixed the insides and outsides of the leaves in 2 lime colors.  

The stripes were also cut apart and pieced so that I had only the 3 main colors in my background, then trimmed with a pinpoint rectangle die.  I cut my sentiment from adhesive foam so that it would be thick and show up better.  

Thanks for stopping by - hope you're enjoying your summer!

Sunday, July 28, 2019

With Love

I have a ton of birthdays next month, so I'd best get some cards made!  I think these will be for my sisters.......


supplies: white cardstock and striped dp from Sunny Studio Rainbow Bright pad, Pretty Pink Posh Floral Hearts stamp set, Zig markers, sentiment from Tammy Tutterow's  Sew Tiny Sentiments, Sunny Studio Quilted Hearts embossing folder, MFT Stitched Mini Scallop Square die, adhesive foam strips, Tonic Detail scissors

I stamped the smaller heart inside the framing one and popped it up for this next card.


supplies: white cardstock, Pretty Pink Posh Floral Hearts, (retired) MFT Blueprints scalloped die, Spellbinders Hemstitch Rectangle die, adhesive foam squares

This is my first time using this darling Floral Heart set - love the hearts sprinkled among the flowers!  There are matching dies for it, but I didn't have any trouble cutting it out by hand.  

Thanks for stopping by - have a beautiful day!

Saturday, July 27, 2019

Which?

I needed a birthday card for a guy, and decided to revisit the plank background stamp,  and CASE a card I made last year.


supplies: white, cream, and medium blue cardstock, Simon's Plank Background cling stamp, Nuvo alcohol markers to color, Winnie & Walter Happy cutaway and (retired) Hero Arts Essential Messages birthday sentiment, wood veneer bird

After it was done, I felt it needed something, so I added these strips of washi tape.  


Now I'm not sure - did I go too far with the addition?  I'd love to hear what you think.  Thankfully the washi is peelable, and I can remove it if I decide against it.

Thanks for stopping by.

Friday, July 26, 2019

Daisies and Sunflowers and Wood

To say that I've been enamored of Betsy Veldman's The Greetery line of stamps and dies would be putting it mildly.  However, I can't have it all, so, inspired by her latest release of dies, I used what I have already and made 2 cards.


supplies: white, cream, pink, kraft, yellow, Green Apple and Green Leaf cardstock, a scrap of pink gingham dp, Stampendous Build a Bouquet cling canning jar, Spellbinders flowers from an April Small Die of the Month Kit, Simon leaves, Zig markers and water, old Tim Holtz woodgrain embossing folder, adhesive foam squares to separate flower layers

I played around with lots of different color combinations for these daisies, but in the end I went with a pretty pink - I think it looks nice against the kraft woodgrain background.

Next I added another layer to the flowers and made them into sunflowers.  With the heat recently I have been daydreaming about fall, and these colors work so well for that season. 


supplies: kraft, Audrey Blue, various greens, yellows, and oranges and brown cardstock, Spellbinders flowers from the April Die of the Month, flower centers and leaves from Tim Holtz Funky Foliage dies, sentiment from Avery Elle Loads of Wishes, Tim Holtz Lumber embossing folder, inked with vintage photo to bring out the details, and Penny Black Stitched Stackers die, adhesive foam squares to separate flower layers

 I enjoyed a fun afternoon bringing these to life - hope they give you some ideas, too!

Thursday, July 25, 2019

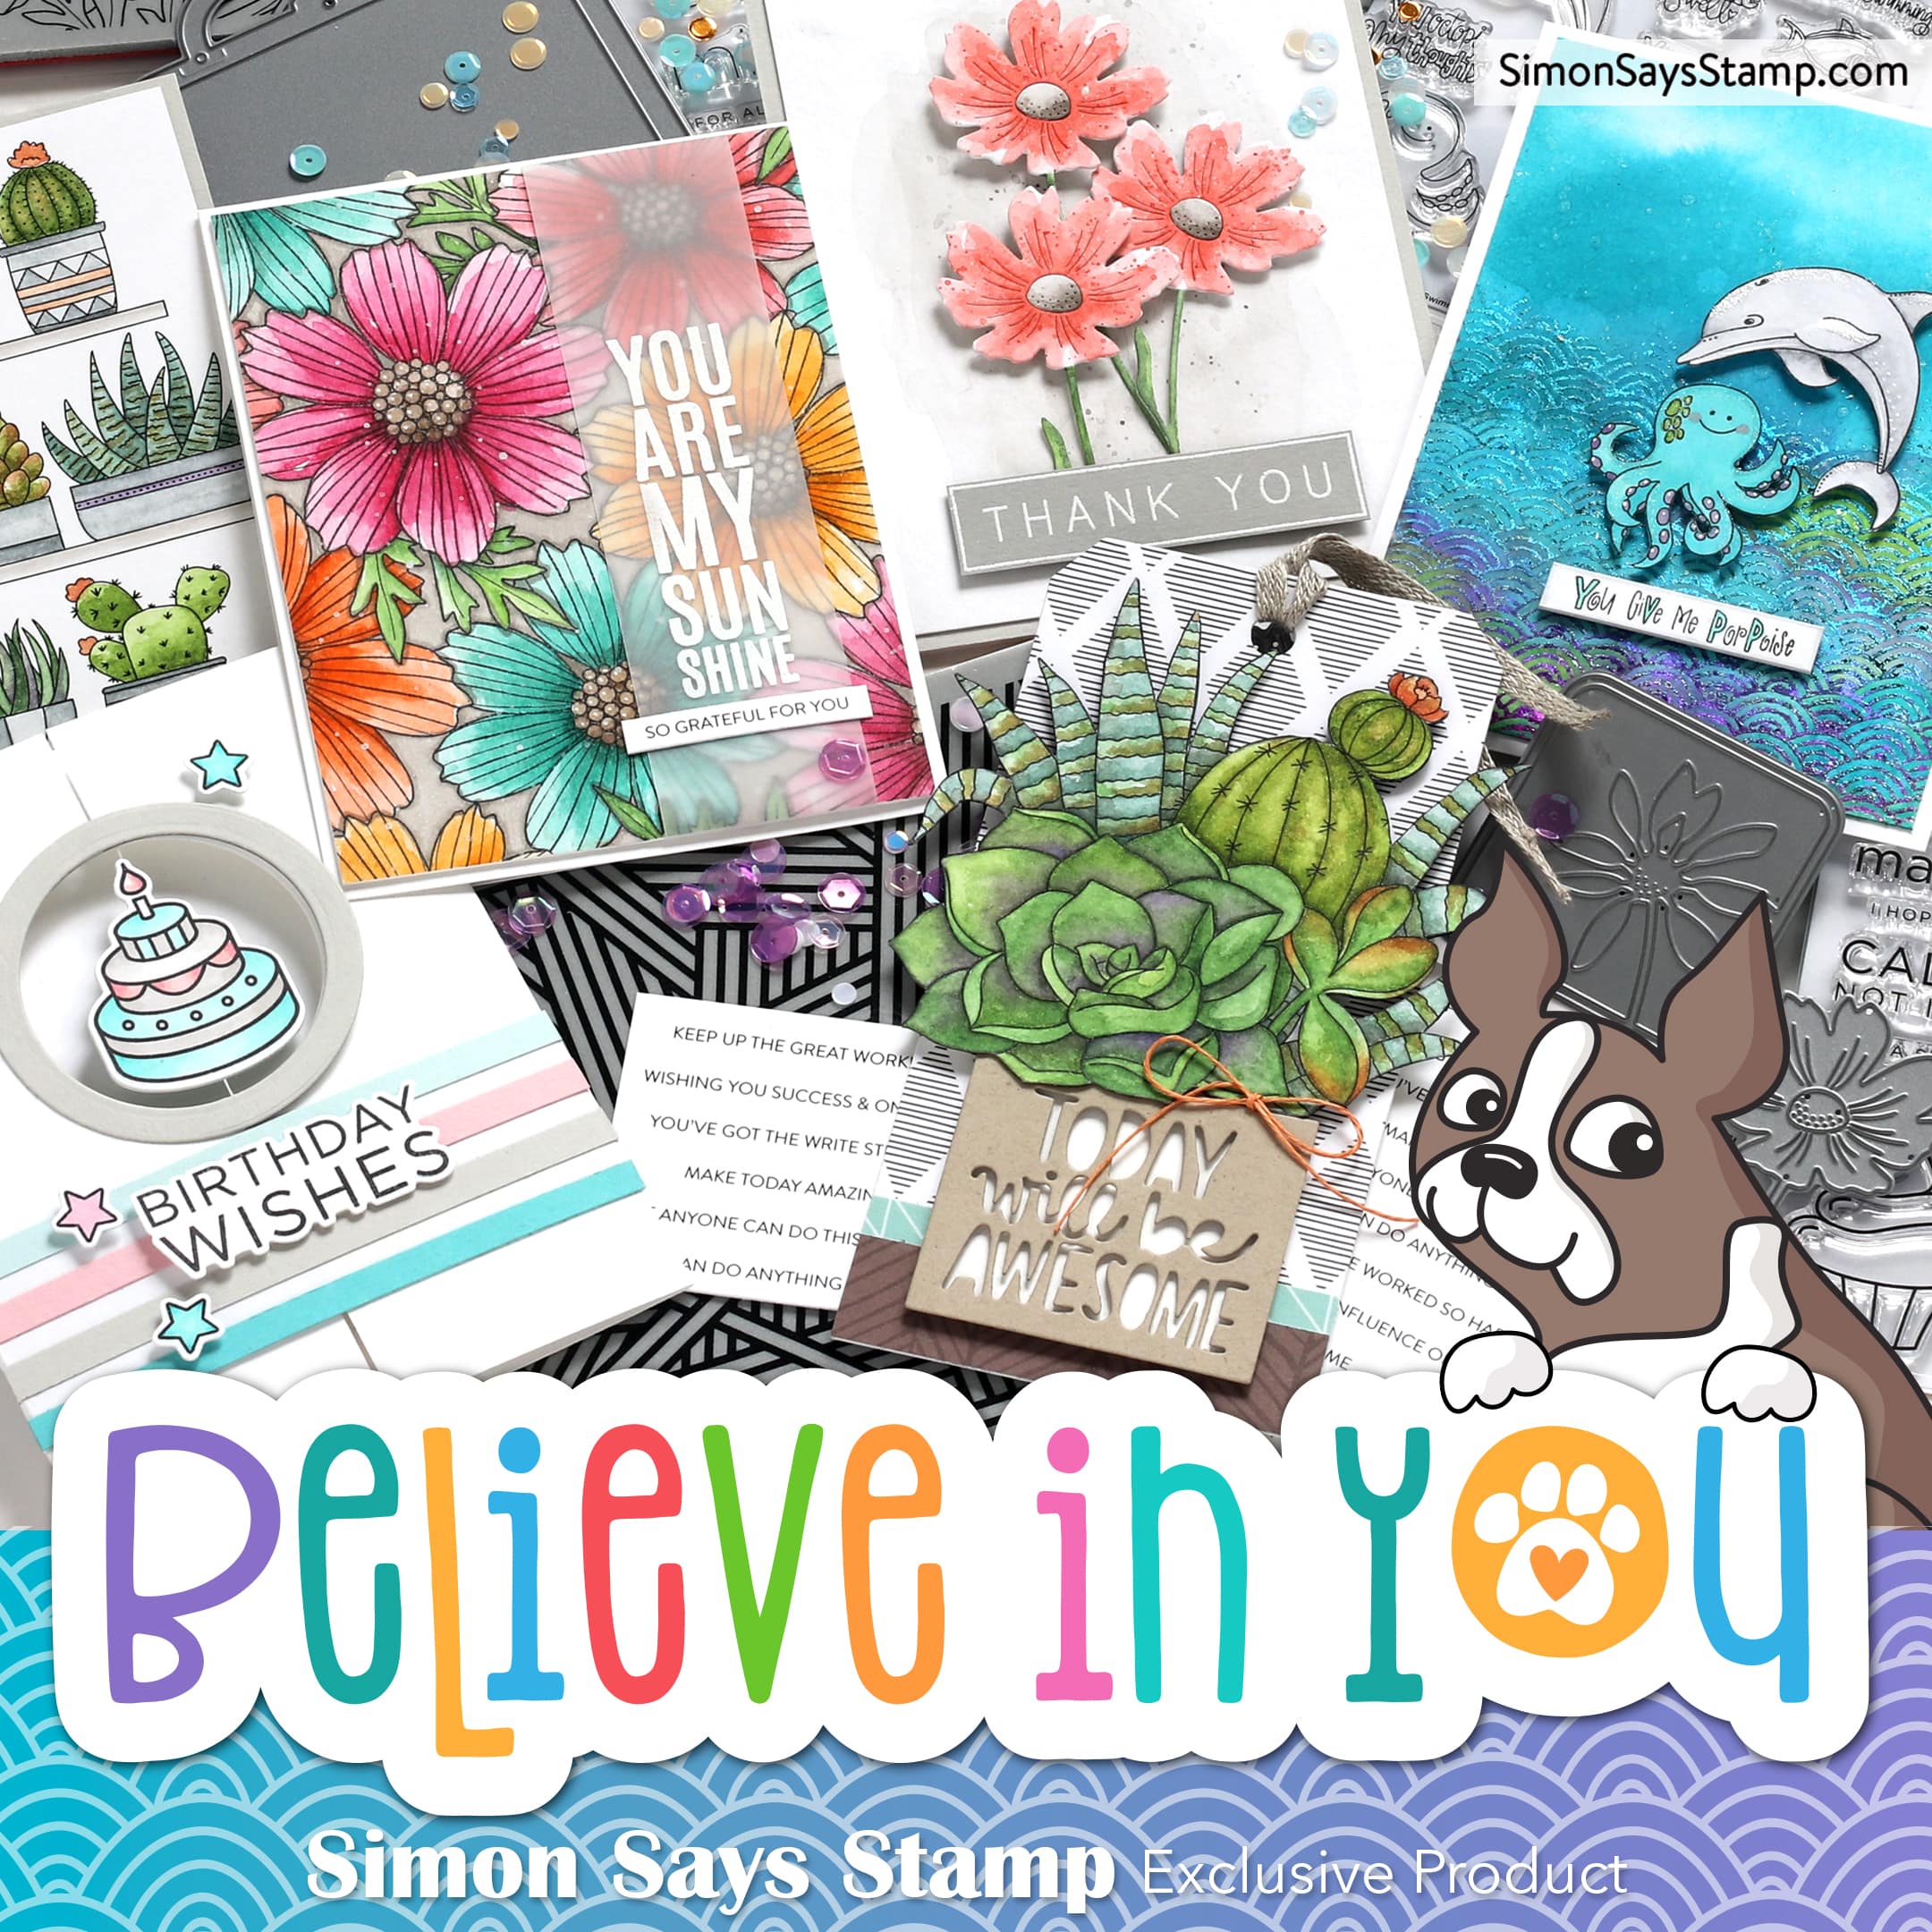
Simon's Believe in You release!

Simon Says Stamp is debuting a new release today, called Believe in You!  


I was sent one of the new dies from the release, called Carnation Frame, and here is my first play with it:


supplies: white cardstock, watercolor paper, Carnation Frame, peacock feathers, cracked pistachio, abandoned coral and picked raspberry distress oxide inks, sentiment from Delicate Flowers, Stitched Rectangle die, adhesive foam strips

I cut the die from watercolor paper, and also from white cardstock.  I colored in the flower on the watercolor panel, and the leaves on the white cardstock one, then popped out the background on both and glued them together.  On a separate white panel, I splattered peacock feathers and cracked pistachio inks, allowed them to dry, then took a wet paintbrush and swiped a rough rectangle in the center.  That panel was then trimmed and adhered to my white card base, and then I lifted my die-cut panel above it.

Here's a much simpler version.  I just die-cut the panel, popped out any background pieces and glued it to a sponged background, adding a sentiment in black.  Nice and flat for mailing.


supplies: white and a scrap of black cardstock, tumbled glass and  twisted citron distress inks, Carnation Frame die, sentiment from Hello Darling

Be sure to visit THIS PAGE to see the rest of the new release.  As always, there's a little of everything: clear and cling stamps, dies, a stencil, succulent coloring prints, 4 new sets of sentiment strips, and sequins.  And there are matching dies to go with some previously released stamp sets.  Enjoy!

For more ideas for products from this new release please visit our gallery HERE.

Wednesday, July 24, 2019

Simon Says.............Back to School

Happy Wednesday - welcome to our challenge at the Simon Says Stamp Wednesday Challenge Blog!

wed-newchallenge-header


Our theme this week is Back to School, and we're playing with exclusive Simon Says Stamp products.  We'd love to see you using them, too, but no worries, you can play along with anything you'd like as long as you follow the theme.

I decided to make an encouraging card for someone who is going away to college for the first time.


supplies: white and a scrap of black cardstock, Simon's Amazing set and hearts from Hello Darling, squeezed lemonade, worn lipstick, and picked raspberry distress oxide inks, MFT Stitched Wonky Rectangle, black pearls

I stamped the large sentiment first in the center of my panel, then added some circle features and 2 hearts.  All were stamped in black ink and heat embossed with clear powder.  Then I sponged on my distress inks, The panel was then trimmed with the wonky stitches and placed on my white card base.  To finish I stamped and trimmed the small sentiment and added it along with 2 black pearls in the center of the largest circle element.

Now it's your turn!  We have a $50.00 gift certificate 

50dollar_voucher_600px

to the amazing Simon Says Stamp store for 1 lucky random winner of this week's challenge!  I can't wait to see what you all make!


Tuesday, July 23, 2019

It's Party Time!

If you have any little ones in your life, this month's Card Kit is something you need!

I had our youngest Grand in mind when I made this, so I used the most colorful dps from the kit.


supplies: white, black, and royal card stock, Doodlebug custom dps from kit, Party Like a Panda stamp and sentiments, MFT Wonky Stitched Rectangle die

I decided to make my cake a chocolate one, with sprinkles in the icing.

Here's a 2nd card using the panda die and flocking in this kit.


supplies: white card, Doodlebug dps, Panda die and black and white flocking, sentiment from Party Like a Panda stamp set, pom-pom from this year's January card kit

Here's the kit:


Don't forget to check our gallery over at the Simon Says Stamp Blog to see lots of other ideas.

Monday, July 22, 2019

Pretty Pastels

I've seen several cards lately made for the Flower Challenge #34, and since we're supposed to use pastels, I thought I'd throw my hat in the ring, too!


supplies: white and a teensy strip of surf blue cardstock, striped paper from Echo Park Spring Dots Dots & Stripes, Wplus9 Watercolor Anemones, Simon Beautiful Day sentiment and butterfly die, Altenew Creative Edges Lace die

I haven't played with these anemone stamps for a long time - this was a good excuse to pull them out again.  I mixed them with a lacy border and a pretty little stripe and then added a couple butterflies.


It's finally cooler here - so I have my windows open.  Enjoy your week!

Saturday, July 20, 2019

Some New Tammy Tutterow Goodies!

Tammy has 2 die sets and a sentiment stamp set being released today as part of Pink & Main's July release!

Pink & Main generously sent me the whole release.  Here are 3 cards I made, featuring Tammy's new things:

This first one features her Floral Mail die and a sentiment from her Sent with Love stamp set:


supplies: white cardstock, pink dotted dp, Floral Mail die, colored with Zig markers and water, Sent with Love sentiment, Quilted Hearts embossing folder, Stitched Scallop die

I masked off part of this sentiment, as I needed something small.

Next up, 2 sizes of the fun new Postage Stamp dies, along with another of the sentiments from Sent With Love.


supplies: white and pink cardstock, dps from Pen Pals paper pad, Postage Stamp dies, Sent with Love sentiment, colored with Zig markers 

The new Pen Pals papers are all about mail - a really fun collection!  And I KNOW I'll be reaching for these Postage Stamp dies lots and lots!

My final card brings in a bouquet stamp from a previous release, to mix with another of the sentiments.


supplies: white cardstock, a (retired) lavender Country Fair Plaid, Postage Stamp die and Sent With Love sentiment, bouquet from Happily Ever After, and matching die, alcohol markers to color, Fab Frames die

Be sure to visit Pink & Main to see all  the new goodies!

Friday, July 19, 2019

Leafy Wreath

I just received this Leafy Wreath die and wanted to give it a try.


supplies: Green Leaf and kraft cardstock, BoBunny dotted dp,  PinkFresh Studio Leafy Wreath and bow dies, Simon Painted Hello die, Tim Holtz Lumber 3D embossing folder,  pink pearls

You know how I love wreaths, and this is a nice big one!  It doesn't need a whole lot else.  It cuts out the wreath, and partially cuts the details, so that they can be popped up - love the dimension!  AND there's a smaller wreath of just 10 leaves included in the package, too!  This will be great for all seasons - imagine the above with the pink changed to red for Christmas.

The bow is from another PinkFresh die set.

One thing led to another, and here is a card for fall!  It's this heat.......


supplies: cream cardstock, PinkFresh Studio Leafy Wreaths die, sponged with distress inks, sentiment from Neat & Tangled Hello Fall

Thanks for visiting today!

Wednesday, July 17, 2019

Simon Says..........Make Your Own Background

Happy Wednesday - welcome to our challenge at the Simon Says Stamp Wednesday Challenge Blog!

wed-newchallenge-header


This week our theme is Make Your Own Background, and we're playing with Tim Holtz products.  We'd love to see you using them, too, but you can use anything  you'd like, as long as you follow the theme.

I have 2 cards today.


supplies: white cardstock, Tim Holtz Plaid stencil, Wildflower die, cracked pistachio, peacock feathers, and salty ocean distress oxide inks, Tammy Tutterow Tiny Sentiment

I used all 3 oxide inks with the plaid stencil, and splattered with the same inks.  Then I trimmed out the panel, edged it with peacock feathers, and attached it to a white card base.  I stamped and heat embossed my sentiment, then cut my flowers, sponged them with the same inks, then attached them, extending them just a bit beyond my inked background.

Next I played with some Distress Resist Spray and oxides.


supplies: white cardstock, Tim Holtz Flourish die and stencil, distress resist spray, picked raspberry and squeezed lemonade distress inks, Simon Painted Hello and Leanna Butterfly dies, rainbow heart sprinkles

To make this card I first used the flourish die to make a cut on an A2 sized panel, in essence making my own stencil.  That was placed over a plain white cardstock panel of the same size, put inside a cardboard box, and spritzed with distress resist spray.  Then I removed the "stencil" to allow the plain panel to dry naturally (maybe 15 minutes or so). When dry, the flourish image is raised slightly and shiny, just like if it had been heat embossed.  Next I sponged on my oxide inks diagonally.  After a little more air-drying, I used the flourish stencil to apply the same inks in the areas that were not embossed.  I also splattered more of the inks and some plain water.  Then the panel was trimmed, attached to my white card base, and I added my sentiment and butterfly die-cuts, along with a couple tiny heart sprinkles.

The distress resist spray acts just like embossing powder, allowing the white card to show through. As you can see, I could have spritzed it a little more in the upper part of the design to get a more even, less splotchy, pattern, but that's a lesson learned which I'll remember next time!

Now it's your turn!  We have a $50.00 gift certificate 

50dollar_voucher_600px

to the amazing Simon Says Stamp store for 1 lucky random winner of this week's challenge!  I can't wait to see what you all make this week!


Monday, July 15, 2019

Variations on a Theme

I have 2 cards today, inspired by a wonderful card maker, Michele Ferguson.  I've had THIS card of Michele's pinned for awhile, waiting for the right inspiration.  I loved Michele's use of the bit of gingham behind her main image.  Here's the first card I made:


supplies: white and pale blue cardstock, Impression Obssession Gingham cling, Sunny Studio Everything's Rosy multi-step stamps, Deep Blue Seas and Green Valley mini ink cubes, The Crafts Meow (retired) Happy as a Lark sentiment, adhesive foam squares

I first used a circle mask to stamp the gingham in the center of my white panel.  Separately, I stamped and arranged the flowers and leaves and decided where they'd be placed before I stamped my sentiment.  The flower arrangement was then lifted above the gingham circle.  

Then I thought I'd reverse the design for the background, and put a white circle inside a gingham base.  This Sunny Studio Gingham dp is a perfect match to the inks I used for the flowers.


supplies: white and Classic Gingham cardstock, Sunny Studio Everything's Rosy multi-step stamps, Deep Blue Seas and Green Meadows mini ink cubes, Fancy Frames Circle die, Simon's Stitched Circle die and sentiment from Choose Joy stamp set

Which one do you prefer?  Thank you, Michele, for your constant inspiration!

Just sharing......

........a picture of a volunteer autumn clematis trying to eat a birdhouse in our herb garden!  


The yellow flower is dill......

How is your garden doing this summer?  Ours is not so great this year.........vegetables and roses are sub-standard - too much rain??  And it seems that we have all kinds of things munching - deer and Japanese Beetles at the moment, though we may be making progress with the deer using a spray my DH has been applying.  So I'm concentrating on the parts that are doing well.

The purple bee-balm isn't showing any signs of mildew yet!  But I didn't see any bees except a big bumble.....


Our little courtyard is mostly in the shade, so it always thrives!  These are Patriot hostas and Japanese Painted Fern, with a bit of Lenten Rose leaves at the top.


Thanks for stopping by!

Saturday, July 13, 2019

Hello Summer

Altenew has a WOW! inspiration for us this month for their Inspiration Challenge.  I have 2 cards today, inspired by its summery orange and pinks.


supplies:  white, black, 3 shades of pink, 3 shades of orange, yellow, and green cardstock, Altenew Hibiscus Garden 3D dies, Neat & Tangled Tropical Leaves stencil, sentiment from a retired Simon set

I used bright pink and orange colors to make my flowers, with bright green leaves.  In looking at the inspiration, I noticed that it was set against black, so I tried that, and liked that the colors really pop against it.  THEN I remembered this tropical leaves stencil, so I "embossed" it onto my black background.  It was hard to get a good picture of it, because it's subtle.......you can see it best in the upper right corner, but irl the whole background has this detail. 

So that you can see the embossing better, I messed around with my editing program......this next one shows the details, but the colors got skewed a bit. 


And one more pic, closer, to show the embosssed stencil.


Next, I decided to play with my all-time favorite Altenew stamp set, Painted Flowers - this is the first time I've colored the outline image with markers instead of using the layering stamps.


supplies: white and black cardstock, Altenew Painted Flowers stamps, colored with Nuvo Creative markers, sentiment die from their Flower Arrangement set, Simon retired "summer" stamp,  sequins to match

Thanks for visiting today - have a great one!