Showing posts with label Pink & Main. Show all posts

Wednesday, October 25, 2023

Woodblock Wednesday for October

This month I used 2 Hero Arts woodblock stamps from 2009: Traditional Pumpkin and Tall Pumpkin.

supplies: black dot and halloween stripe dps, white cardstock, Doodlebug orange tiny prints, Hero Arts Tall Pumpkin and Traditional Pumpkin, faces from Clearly Besotted Boo to You and Pink and Main Hey Pumpkin, bat and Boo from Spellbinders Hey Boo die set, MFT Wonky Stitched Rectangle die 


Hope you'll join us this month!


I'll be adding this card to this week's Simon Says Stamp Wednesday challenge: Anything Goes.

Wednesday, November 16, 2022

Simon Says........Stencil It!


Welcome to the new challenge at the Simon Says Stamp Wednesday Challenge Blog!


This week's theme is Stencil It!, and the team is featuring Tim Holtz products.  


supplies: Cream and kraft cardstock, Tim Holtz Plaid Stencil, fossilized amber, ripe persimmon, crackling campfire, and vintage photo distress inks, Funky Wreath, bittersweet sprigs from Spellbinders Fall Label Motif die set, sentiment from Pink & Main Fall Sentiments, natural twine, adhesive foam squares to lift wreath

I stencilled my plaid onto a trimmed Cream rectangle, splattered the same inks, then embossed the panel for more dimension and edged it with crackling campfire ink. I cut 2 wreaths and 4 berry sprigs and arranged them, adding a twine bow and my fussy-cut sentiment before lifting them above the card base.

And here's another.  Love this new Pinecone stencil!


Because the letters are so dainty, I cut them 3 times and stacked them, using microdot adhesive sheets..  

Now it's your turn!  We have a $25.00 gift certificate 


to the amazing Simon Says Stamp store for 1 lucky random winner of this week's challenge!  I can't wait to see what you all make this week!

Wednesday, October 26, 2022

Simon Says.......Anything Goes


Welcome to our weekly challenge at the Simon Says Stamp Wednesday Challenge Blog!


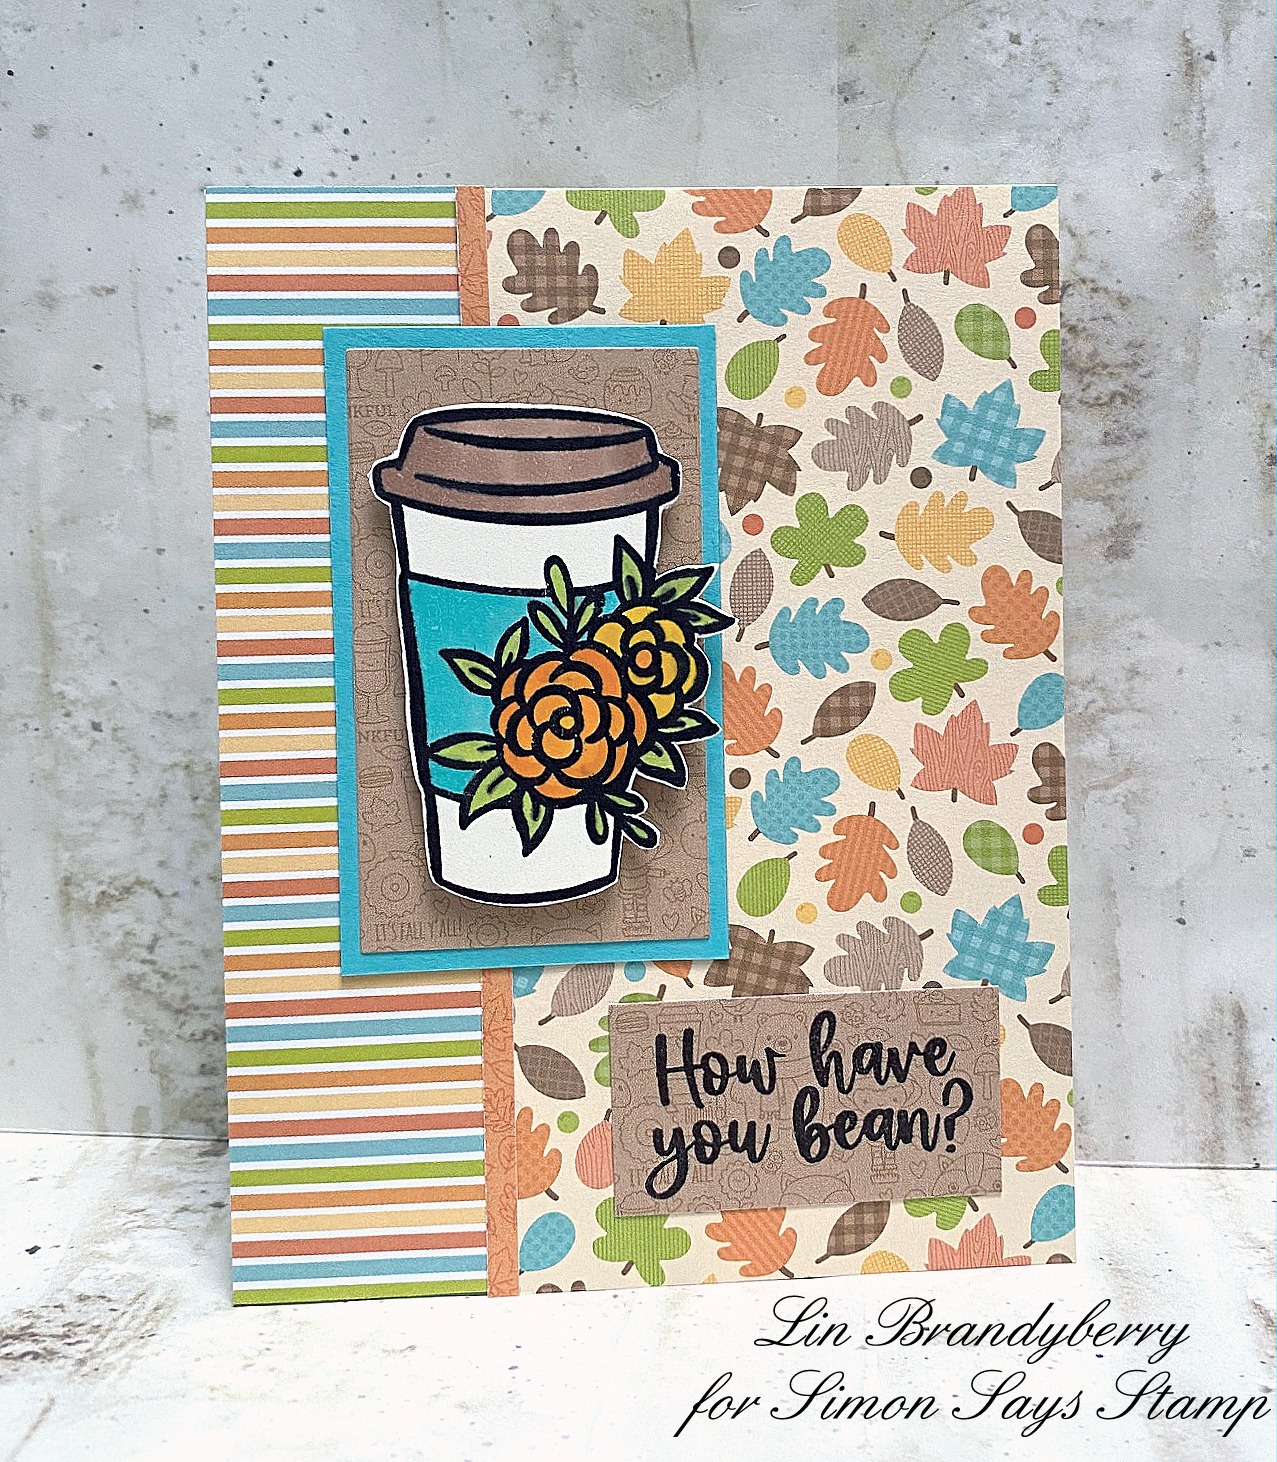
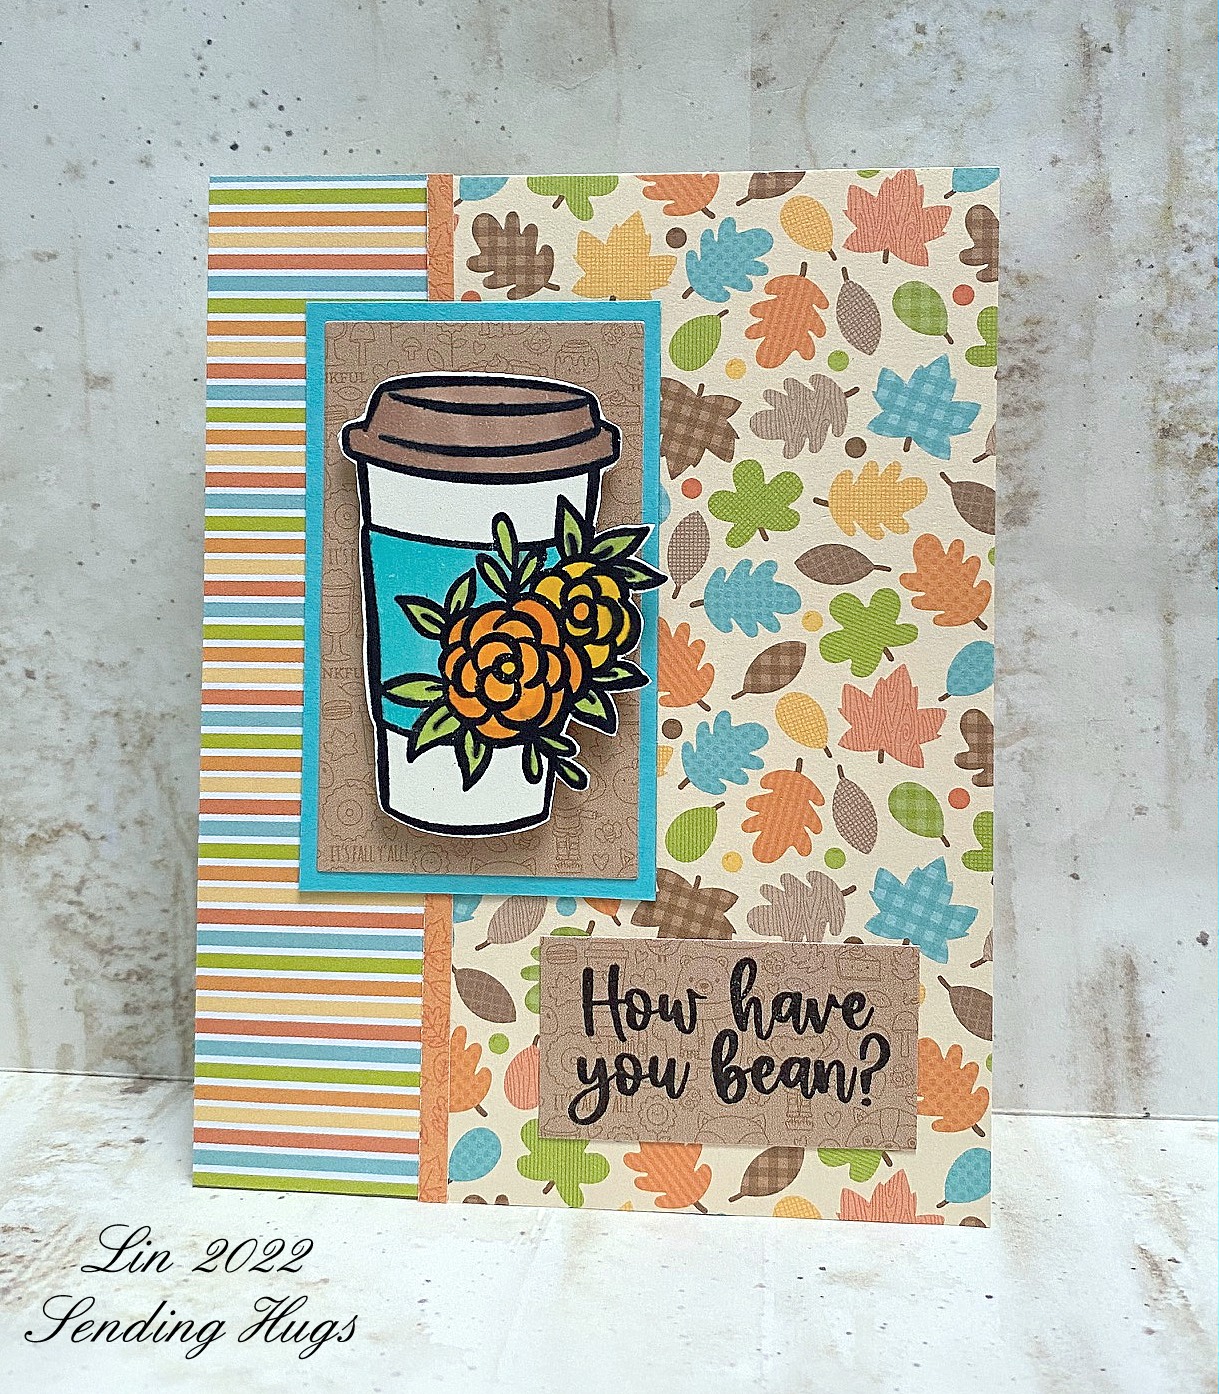
Our theme this week is Anything Goes, and the team is featuring Pink & Main products.  Here's my card.


supplies: Audrey Blue cardstock, printed papers from Doodlebug Pumpkin Spice pad, Pink & Main Java Nice Day clear stamps (coffee and sentiment), adhesive foam squares

Now it's your turn!  We have a $25.00 gift certificate 


to the amazing Simon Says Stamp store for 1 lucky random winner of this week's challenge!  I can't wait to see what you all make this week!

Friday, September 23, 2022

Winter Borders

 Today I'm sharing 2 cards I made with a new Spellbinders Border set called Winter Borders.  There are 8 different borders in this set, several of them stitches, a little scallop, and 2 seasonal borders.  

For my first card, I chose the snowflake border to work with. 


supplies: white, and blue glitter cardstock, a blue snowflake patterned paper, Winter Border snowflake die, a Mix & Match Holiday Greetings die, Eliza snowflake die

For my 2nd card I used 2 more of the border dies: a tiny scallop and a tile design, and layered them together on my card front, then embossed my sentiment in gold and added the spray of Christmas greenery and a gold bow. 


supplies: white, green, and metallic gold cardstock, 2 Winter Border dies, Parcel & Post Christmas Decorations, Pink & Main Holly Jolly sentiment, VersaMark ink and gold embossing powder

There are also 3 different stitched borders that can be used at any time of the year, which I know you'll be seeing me using here often!  Many thanks to Spellbinders for sharing these with me!

Sunday, November 28, 2021

A CAS Card for Christmas

 Here's another Christmas card for today.


supplies: white and dark green card, Simon Pine Needle Wreath die, Pink & Main Holly Jolly sentiment, Altenew Crimson ink, Hero Arts Nesting Rectangle dies

I cut the wreath from a panel of white card, then used a rectangle die to size it.  The green was cut from a size up in the nesting set.  After gluing the two together I stamped my sentiment and red berries, then attached it to a white card base.  The group of 3 dots and the single dot stamps were teensy ones from some retired floral stamp sets.  Look through your sets and you'll often find some tiny motifs that can be very handy!

Maybe one of the fastest cards I've made in a long time!

Thanks for stopping by - enjoy your weekend!

Friday, April 30, 2021

Spellbinders Stained Glass Bouquet Collection

Becca Feeken has done it again!  Just look at these ornate dies she's created for her latest collection called Stained Glass Bouquet! 

My first card uses the Tulip Trio set of dies.


supplies: black, ivory parchment, and watercolor cardstock, Tulip Trio dies, oxide inks and water, Hero Arts retired sentiment

I thought the best way to achieve a mottled stained glass look was to make my own colors using distress oxide inks.  Each of these colors started with the smooth side of watercolor card, then I sponged on various shades of the color I was going for, spritzed with water, and dried, continually adding droplets of color until I was satisfied.  I'm very pleased with the results.  I saw bleeding hearts in the corners, so I added a little more red to the pinks I had used for my tulips for them.

We've had a need for sympathy cards this spring, and I thought this would work well for that occasion. 

Next up is a set called Deco Bloom, which makes a card just a little less than 5 x 7.


supplies: slate grey, ivory, surf blue, kraft, pale green, 2 pink, and 2 yellow cardstock, Deco Bloom dies, Pink & Main Sent with Love sentiment, adhesive foam squares

This time I used a variety of colored cardstock to bring color to this design.  This die set is made of  dies for the border and the wreath, so you can use just parts of it for other designs, and the roses are separate dies that can be placed anywhere you'd like on this wreath. I chose to adhere them with adhesive foam so that they stand above the rest of the card.

I won't deny that paper-piecing these cards took a little time, but I enjoyed every minute.  These dies cut beautifully.  Thank you, Spellbinders, for sharing these with me!

Wednesday, January 13, 2021

Simon Says........Layer It Up!


Happy Wednesday - welcome to our challenge at the Simon Says Stamp Wednesday Challenge Blog!


Our theme for you this week is "Layer It Up!", and the team is playing with Kitchen Sink Stamps products.  A life-long Teddy collector, I couldn't wait to get this cute Teddy Bear Wishes layering stamp set to play with today.


supplies: white cardstock, Sunny Studio Rainbow Bright and Doodlebug Designs Gingham patterned papers, Kitchen Sink Stamps Teddy Bear Wishes, Tea Dye, Vintage Photo, Gathered Twigs, and Ground Espresso distress inks, Pink and Main Postage die, MFT (retired) bow from Spring Wreath die set, Simon Just Miss You sentiment, embossed in white, Doodlebug Tiny Heart sprinkles

This set has 3 different layers for the Teddy, plus another for his eyes and nose, and it's amazing how they give a fuzzy feel to him!  I added a die-cut bow for some more layers.  

Here's a closer look at him.  This card will be for Valentine's Day for our youngest Grand, I think.


Now it's your turn!  We have a $25.00 gift certificate 


to the amazing Simon Says Stamp store for 1 lucky random winner of this week's challenge!  I can't wait to see what you all make this week!


Friday, October 30, 2020

Happy Halloween!

 I needed one more Halloween card for our Grands - this will be for the youngest one.

supplies: black and Slate cardstock, Echo Park Creepy Bats stencil, black soot distress ink, Hero Arts (retired) Felt Decor pumpkins, googly eyes, Pink and Main Trick or Treat sentiment and Postage diecopper embossing powder, Spellbinders Spooky Boo bat die

I started by embossing and inking the stencil, then added my other elements.  The felt pumpkins are dated 2010!!  It was fun to add the googly eyes a bit off-kilter.

Friday, September 4, 2020

Harvest Time

It's September, and for me that means I can start using my fall stamps and dies!  Here's my first card for the season.


supplies: various colors of cardstock, Honey Bee Studio Fall Bouquets dies, Spellbinders Hemstitch Rectangle die, Pink & Main Fall Sentiments, enamel dots

I used a distress marker to accentuate the embossed lines in the pumpkin and also shaded it just a tad with the matching spiced marmalade ink. The flowers and leaves were all cut from colored cardstock.  These dies have lots of fun embossed details in the leaves.  I decided to stamp my sentiment right onto the pumpkin, and then just added a few enamel dots to the flowers and here and there around my arrangement.  I only used the smallest flowers in this set, but there are 3 much larger ones included; also some acorn dies and a canning jar, so this has everything you need to make a beautiful autumn arrangement!

I got these dies last year - HERE's what I made then.  

Thanks for stopping by!

Wednesday, July 1, 2020

Simon Says.........Bright & Cheerful


Happy Wednesday - welcome to our challenge at the Simon Says Stamp Wednesday Challenge Blog!


We are beyond thrilled to announce FOUR new teamies this week: Andy Granick, Barbara Tarayao, Diane Morales, and Sidnie Des Jardins!!!  Please give them a warm welcome!

This week our theme is Bright & Cheerful, and the team is showcasing Pink & Main products!  I thought this Succulents set would fit the bill nicely!


supplies: white and Green Apple cardstock, striped dp from Sunny Studio Striped Silly pad, Pink & Main Succulents clear stamps and matching dies, Nuvo creative pens to color

These little pots were just right for this person who doesn't color well; small spaces are my friend!

Now it's your turn!  We have a $25.00 gift certificate 


to the amazing Simon Says Stamp store for 1 lucky random winner of this week's challenge!  

Sunday, June 21, 2020

A Summer Card


Today I have a card put together from my scrap basket.

I found this old watercolor background, made from a long discontinued clear sunflower stamp from Hero Arts.  Not sure, but it looks like I inked it up in various warm shades of distress inks, stamped all over the panel, then spritzed it and allowed everything to run together.  Here's what it looked like when I unearthed it from my scrap basket.


It was even trimmed down to fit inside an A2 card, allowing a white border!  So I glued it onto my white card base, then cut this beautiful floral cover die from white and and stamped my sentiment inside a postage die.  The sentiment was attached to the center of the floral panel, and attached the panel to my card - what could be easier?!  Added some enamel hearts to the mix and done!


supplies: white cardstock, a watercolor panel, PinkFresh Studio Modern Bloom cover die, Pink & Main/Tammy Tutterow Sent with Love sentiment and Postage die, Doodlebug enamel heart sprinkles

I've had a lull in my creativity lately, but this was a good way to push myself to get started again.  I love these happy summer colors, and the sentiment will work for a variety of occasions.  

And since today is Father's Day, I'd like to share a couple of pictures of my Daddy.  Here he was as a young man.


And again in Florida in his mid-to-late 80's. Maybe riding bikes was one of the reasons he lived to be 95!!  


He left us with great memories  Miss you, Dad!

As always, thanks for coming by.  Enjoy the rest of your weekend!

Friday, June 5, 2020

Inspired by Jean

I have had THIS CARD (3rd one down) by Jean Manis pinned forever - I adore her beautiful shading of these 3 oxide inks.   Today I decided I'd start with her colors and do my own thing.

First a definitely feminine birthday card.


supplies: white cardstock, Wplus9 Tossed Floral Background cover die and partial sentiment from Hand Lettered Hello, Studio Katia sentiment from Floral Wreath, Simon Stitched Circle die, squeezed lemonade, worn lipstick, and picked raspberry distress oxide inks, Doodlebug enamel dots, adhesive foam to lift center circle

So I started with a panel using the same inks, and then added white elements.  It may not be noticeable, but I stamped the sentiment using the 2 different pink inks to reflect the background. It's a blending of 2 sentiments from Studio Katia and Wplus9.

Then I switched to black accents and here is the result, much more like Jean's original card.


supplies: white and Hero Arts Pitch Black cardstock, Simon Thankful Flowers, Pink & Main (and Tammy Tutterow) Sent with Love sentiment, VersaFine Onyx Black ink, squeezed lemonade, worn lipstick and picked raspberry oxide inks, old butterfly punch, black enamel dots

I stamped the floral bouquet 3 times on the inked panel, leaving room for a sentiment.  The panel was trimmed enough to let a black base frame it, and then I just added my little butterflies, also inked with the same oxide inks

And lastly, I switched to regular distress inks so that I could try Jennifer McGuire's recent baby-wipe/stencil technique.


supplies: white cardstock, squeezed lemonade, worn lipstick, and picked raspberry distress inks, Gina K. Designs Floral Stencil, a baby wipe, Simon's Beautiful Butterflies stamp, a hello die, Nuvo markers to color butterfly

I love this technique, thank you Jennifer!  My example is not perfect, (I lost most of the worn lipstick color), but it makes for a lovely soft background!

And thank you, Jean, for your inspiration!

Wednesday, November 27, 2019

Simon Says..........Anything Goes

Happy Wednesday - welcome to our challenge at the Simon Says Stamp Wednesday Challenge Blog!


It's Anything Goes this week, and the team is playing with Penny Black products!  


supplies: white, Schoolhouse Red, and Surf Blue cardstock, Penny Black Sharing a Song clear stamp, Pink & Main Holly Jolly sentiment, Nuvo pens, tumbled glass distress ink, Simon's Falling Snow stencil and Stitched Rectangle die, Nuvo Moonstone glimmer paste

Now it's your turn!  We have a $50.00 gift certificate 


to the amazing Simon Says Stamp store for 1 lucky random winner of this week's challenge!  


Monday, October 21, 2019

A New Stamp Set from Tammy!

Hi everyone!  Pink and Main has released some Christmas goodies, among them this darling sentiment set designed by Tammy Tutterow!  I love her handwriting!  Here's a card I made with the set.


supplies: white and Schoolhouse Red cardstock, Holly Jolly clear stamps, Gina K Wreath Builder stencil, Nuvo Creative Markers in Rich Reds and Woodland Greens, MFT Mini Stitched Scallop Square die, red twine

This is mainly a sentiment set for Christmas that includes 18 sentiments, but also a single sprig of holly, a large bunch of it, and also a border.  I used the first 2 images and a Gina K Wreath Builder stencil to form a wreath, colored it, then stamped one of the sentiments inside.  Love how clean and crisp it is!  

Thanks so much for stopping by today!