Wednesday, January 31, 2024

Woodblock Wednesday January

 Here is my entry for this month's Woodblock Wednesday.  With Valentine's Day coming up, I decided to do something with a heart.  I used an old Rubber Stampede woodblock called Bleeding Hearts.  There's no date on it.


supplies: pink and white cardstock, PSX Bleeding Heart,  Spellbinders Bow from Christmas Wreath Add-Ons, Tammy Tutterow (retired) sentiment from Tiny Sentiments, Pink Fresh Studio Stitched Scallop Rectangle die


Hope you'll join us this month.  It's fun to see your wood treasures!

Sunday, January 28, 2024

Spring Hugs

Here's a card using the Petal Pusher stand-alone floral dies from the Greetery,  paired with a heart splatter stamp and a die-cut sentiment.


supplies: white, Green Apple, purple, dark aqua, and black cardstock, The Greetery Petal Pusher Blooms dies, unknown Hugs die, Your Next Stamp Mini Heart Ink Splatter, Altenew Ocean Waves and Hydrangea inks, (retired) Winnie & Walter Noelle Scalloped Rectangle die, adhesive foam squares

I like this combination of aqua and purple with a bright green.  And it was fun to pull out the heart splatter stamp and the Scalloped Rectangle die to give them some love!

Once again, thanks so much for coming by today.

Wednesday, January 24, 2024

Petal Pushers!

 Here's a suite of products that the Greetery released last year.  I had such fun when I first got these that I wanted to repeat the process.  They're called Petal Pusher.


supplies: white, pink, and pale aqua cardstock, Petal Pusher background die and matching layering stencils, Altenew Four Scoops and Frayed Leaf inks, blending brushes, sentiment from Spellbinders Pocketful of Spring kit

The background die cuts out the edges of most of the flowers and leaves, leaving the centers intact so that you can pull them up for dimension.  The other thing that appeals to me is the many tiny dots in the background that pop out so that you can line the panel with another cardstock color, in this case a pale aqua.  Maybe the only drawback to this design is that it's so packed full of detail that there's not much room for a sentiment!  I chose a tiny strip for mine this time.

HERE is a blog post from last July when I first got this suite, that has 3 more cards using these elements.  I have yet to use the dies only - that's my next project!

Thanks for stopping by - enjoy your day!

Saturday, January 20, 2024

Happy Birthday

Today I'm playing with a floral stamp that is a favorite.  I don't think I've ever done it in purple before, but it's appropriate for a February birthday, since the birthstone is amethyst.


supplies: white and lavender cardstock, Simon Says Stamp (retired) You Have My Heart floral spray, Blossom Field embossing folder, Pink Fresh Studio Perfect Sentiments stamps and matching die, Lawn Fawn Fancy Scallop Rectangle die

I pulled the flowers and the sentiment into the center and embossed the background on a dainty scalloped rectangle.  

Thanks so much for coming by today - hope you're having a good one!

Tuesday, January 16, 2024

Hello Beautiful

Today's card uses a layering stamp and matching die from The Greetery, but I'm sorry to say that it's been discontinued.  I wanted to use the color of the year, peach, on it.


supplies: white cardstock, The Greetery (retired) Sketchbook Roses stamps and matching die, Simon Trio #9 inks (melon, canteloupe, and sherbert) and Altenew Spring Bouquet greens, blending brushes, The GreeteryTartan Builder Diagonal layering stencils

I've used these stamps several times before, and it's so versatile for teaming up with different backgrounds.  This time I decided to stencil a simple plaid and pop the florals up above it.

How is your week going?  Hope you're keeping safe and cozy during this crazy weather!  Thanks for stopping by!

Friday, January 12, 2024

Friendship Frames

 Here's another stamp and matching stencils set that I scooped up last year during some Black Friday sales.  They're Honey Bee Stamps, called Friendship Frame.  You know me and wreaths!  I made 2 cards with them.


supplies: white, black, and Mint cardstock, Honey Bee Friendship Frame clear stamp and Friendship Frame layering stencils, Altenew mini inks, blending brushes, unknown hello die (maybe Winnie & Walter?), stamped sentiment from (retired) Avery Elle Simply Said Hello

After stamping and using the stencils to color the frame, I tried different colors for my background, and this time Mint won the day.  I'm sure there's a set of dies to match, but I enjoyed fussy-cutting out the floral.

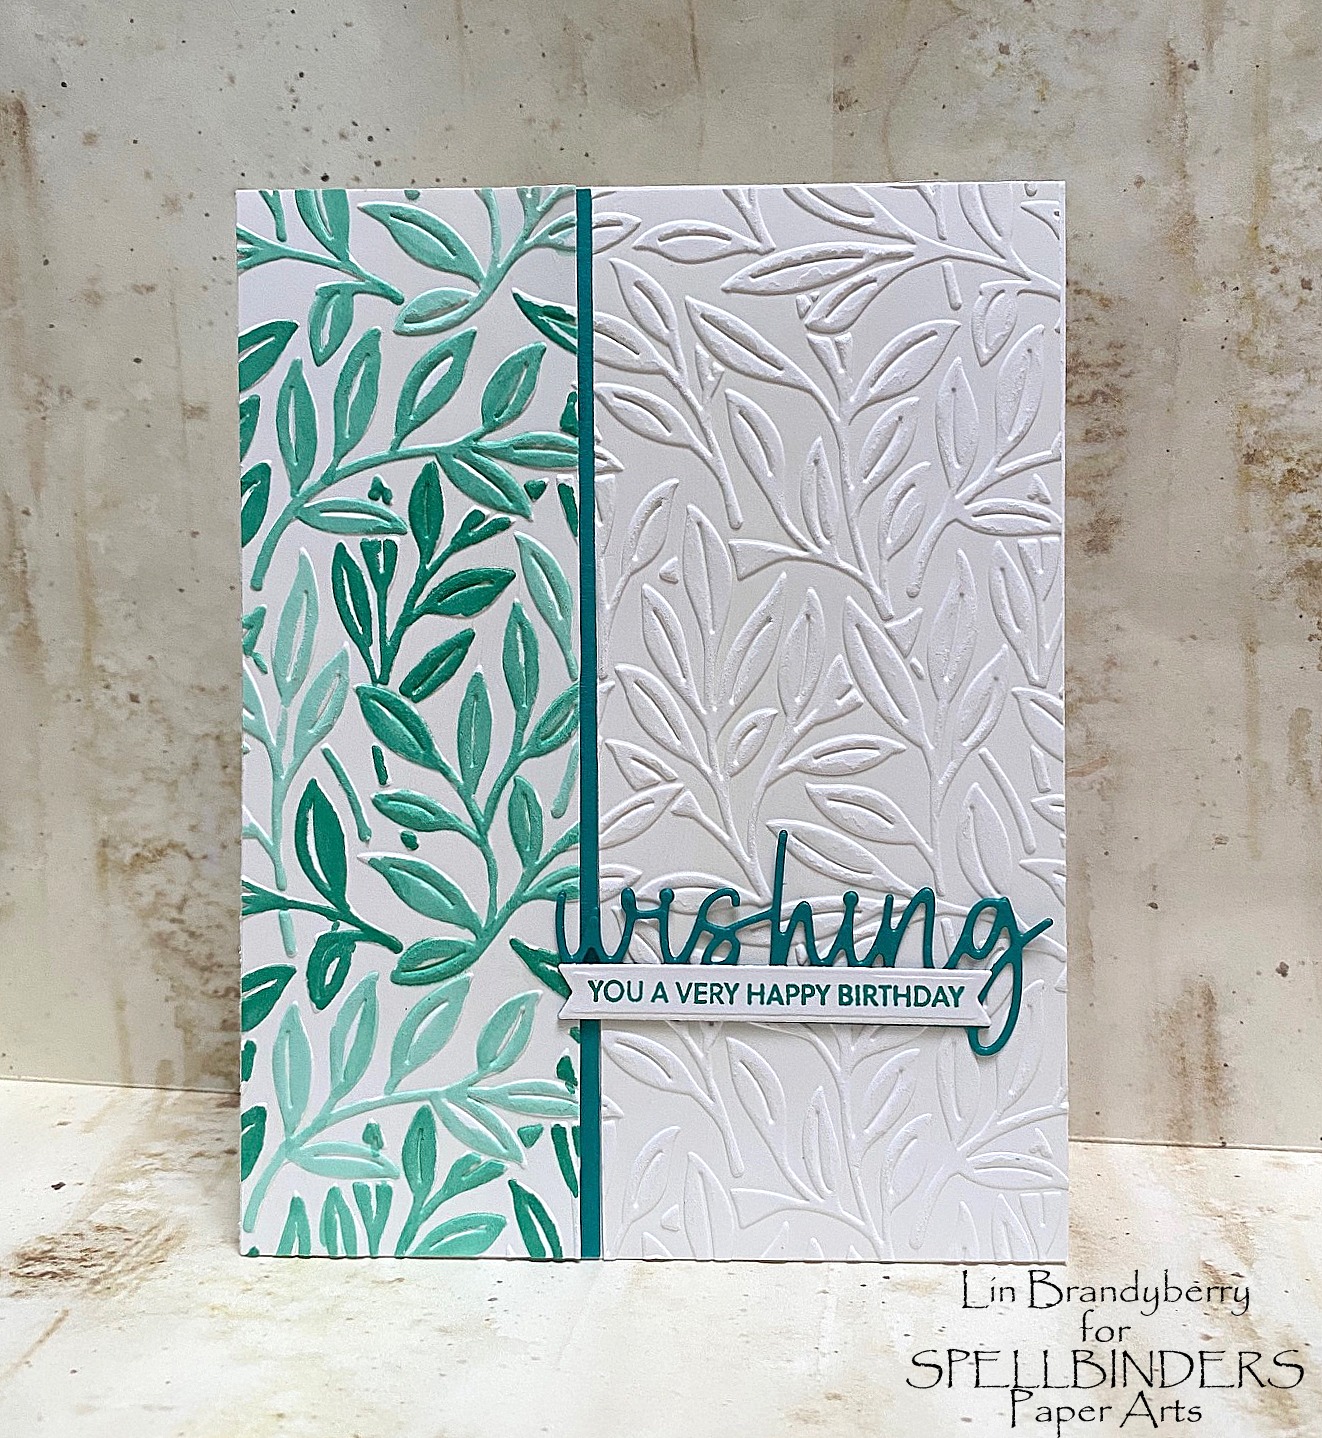
My 2nd card is in aquas and purples against white and I turned it to a portrait.


supplies: white cardstock, Honey Bee Friendship Frame clear stamp and Friendship Frame layering stencils, Altenew mini inks, blender brushes, Taylored Expressions (retired) Handlettered Sentiments cling stamp

This frame fits snugly on an A2 panel, so this time I stamped and stencilled, then attached my finished panel to a card blank.  

You may or may not have noticed some small changes here on my blog since the first of the year.  That's because we are snow-birding here in Florida for a few months.  As a result, I'm using my husband's laptop and my iphone for editing my pictures and adding a watermark.  I'm pretty proud of myself that I was able to make the changes with a minimum of drama - I DO still have some brains!!

One thing that I didn't bring down here was accessories, like enamel dots, which would have been nice on both of these cards.  I see a trip to the local scrapbook store in my future!!

Thanks for stopping by today - hope your day is a good one!

Wednesday, January 10, 2024

More From the Garden

I have more cards today that use more of Wendy Vecchi's From the Garden sets: Vintage Florals dies along with the lovely Flowers & Foliage 3D embossing folder.


supplies: white, black, corals, yellows, and greens cardstock, vellum, Vintage Florals dies, Flowers and Foliage 3D embossing folder

These dies have a nice assortment of flowers and leaves and stems.  I simply cut them out of colored cardstock, added some details with markers, then layered the larger flower parts and made my little arrangement, placing it over this sweet floral embossed panel.

Here's another that uses a bit of each of the new things in this collection: Flowers & Foliage 3D embossing folder, Vintage Florals dies, Heartfelt Thanks and Scallops set, and the sentiment from Garden Party clear stamp set.


supplies: white, green, yellow, and aqua cardstock, Flowers & Foliage 3D embossing folder, colored with alcohol markers, and cut with Heartfelt Thanks & Scallops dies, sentiment from Garden Party clear stamp set, and Vintage Florals dies

I started by cutting out a scalloped panel from white cardstock, then cut out a heart.  Next I stamped my sentiment, then embossed that panel and colored in the details.  The panel was then matted with aqua, and to finish I added 3 flowers and some leaves, lifting them up with adhesive foam squares.

And one more, using the pretty Garden Party florals and one of the 8 sentiments from the set, along with their matching dies and the embossing folder once again.


It was easy enough to mask off each flower to make it a different color from the others.

I hope you'll give this lovely collection from Wendy a closer look!

Tuesday, January 9, 2024

Garden Party

 Wendy Vecchi has a gorgeous release today at Spellbinders, called From the Garden!  You'll be seeing lots of cards using these products, as I had to have the entire collection!  Here's my first card, using 3 of the sets in Wendy's collection.


supplies: white and coral cardstock, Garden Party stamp, die, and stencil bundle, Tea Party, Deep Blue Seas, Lime, and Mango Smoothie ink cubes, blender brushes, Heartfelt Thanks and Scallops dies, Tammy Tutterow (retired) Happy Grams #4 sentiment and die

I am all over anything that is a stamp and has matching stencils to color it!  This Garden Party set fit the bill beautifully!  And I am so impressed with the mix of dies in Wendy's Heartfelt Thanks and Scallops set - it has 3 nesting scalloped rectangles, which I know I will use over and over, plus a set of 5 nesting heart dies, small to medium sized, and a word and shadow die.  

I can't wait to try all kinds of colors on this gorgeous arrangement!  

Stay tuned for more from this beautiful collection!

Sunday, January 7, 2024

Spellbinders Club Kits for January: Large and Small Dies,, Stitching Dies, Clear Stamps and Dies

 The Spellbinders Club Kits for January are now available!  I have 4 cards using 4 different kits - it's all about the birds and the bees!

My first card features the adorable Large Dies of the Month: Honey Bee Jar.  I cut the outermost largest die twice and made a shaped card.  It measures 5" tall (to the top of the gingham cover) by 4 1/4" at its widest point, so it can also be put onto an A2 card base.


supplies: Honey Bee Jar Large dies, various colors of cardstock, Sunny Studios blue gingham dp

This month we also have a little accessory which is the free bonus item included in the Deluxe Caboodle value club membership (see graphic below): a wooden honey dipper! It measures just a tad over 4 1/4" long, and would work nicely with the Honey Bee Jar.


Here are the Small Dies of the Month: Sitting Pretty.


supplies: white, 2 blues, 2 yellows, 2 greens cardstock, Sitting Pretty dies, Branching Out embossing folder, sentiment sticker from Tim Holtz

This makes me think of 2 old friends out shopping who run into each other at the grocery store and stop to have a catch-up!

The Stitching Dies for January are called Bee Stitched.


supplies: aqua, pale grey, black, gold, green, and coral cardstock, Bee Stitched stitching dies, black, gold, and silver metallic embroisery floss, Branching Out embossing folder, Just Bee-Cause sentiment, adhesive foam squares to lift bee

And finally, a card using the Clear Stamps and Dies: Just Bee-Cause.


supplies: white and Surf Blue cardstock, Just Bee-Cause stamps and dies to match, adhesive foam to lift bees

I stamped the half-circle of florals twice to make an oval frame, colored it with markers, then fussy-cut it around the inside and outside edges.  There are dies to match the corners of the florals, and the bees, and most of the sentiments.  I used only the large bee die and popped it above the flowers after attaching them to the card base and stamping my sentiment in the center.

You can look HERE for information on Spellbinders Clubs.  Each is available only from the 6th until the 27th of each month.  If you click on my links under each card, you can see the specifics of each product.  You can subscribe to each of our 10 kits separately, (and you can "unjoin" a subscription at any time without any penalty), or you can get them all and save 60% by choosing the Deluxe Caboodle!  


Saturday, January 6, 2024

Spellbinders Club Kits for January! Glimmer of the Month, Stencils of the Month, Embossing Folders of the Month

 The Spellbinders Club Kits for January are now available!

First up, I have the Glimmer of the Month kit: Card Front Floral and the Stencils of the Month: Lively Floral, which are made to coordinate.


supplies: white, black, and coral cardstock, Card Front Floral glimmer set, copper glimmer foil, Lively Floral stencils, distress inks in saltwater taffy, worn lipstick, abandoned coral, twisted citron, mowed lawn, mustard seed, and fossilized amber

For this combination, you have the option to foil your choice of 2 sentiments, or stencil another 2!  I foiled on black cardstock, and then popped it above my card base.

Next up is the 3D Embossing Folder for this month: Efflorescent Flora.  Wow, it's a beauty!  I borrowed a color scheme from Bonnie that she used last month: cream cardstock with a background wash of pink, and then added gold accents.


supplies: cream and matte gold metallic cardstock, Efflorescent Flora 3D embossing folder, kitsch flamingo distress ink, sentiment and die from All You Need Sentiments glimmer set (reversed), Matte Gold glimmer foil

I rubbed kitsch famingo distress ink on the flat side of the folder (the side that has "SPELLBINDERS" printed on the reverse), added my cardstock, and ran it through my die-cutting machine.  Then I just added an inverted scallop rectangle from Pink Fresh Studio, and the negative foiled sentiment banner.

The Embossing Folder for January is called Branching Out.  A great one for masculine cards!


supplies: white and peacock cardstock, Branching Out embossing folder, Jade Green Tri-Blend marker to color, Snowflake Wishes sentiment stamp/die set

I embossed a white panel with this new folder, then sliced it, colored the smaller section, and reattached both panels with a slim strip of green cardstock in between, adding my sentiment to finish.

You can look HERE for information on Spellbinders Clubs.  Each is available only from the 6th until the 27th of each month.  If you click on my links under each card, you can see the specifics of each product.  You can subscribe to each of our 10 kits separately, (and you can "unjoin" a subscription at any time without any penalty), or you can get them all and save 60% by choosing the Deluxe Caboodle!  


Thursday, January 4, 2024

Watercolor Flowers Kit

Here are 2 cards made from a new-to-me kit from Altenew that I scooped up during Black Friday sales last year.  I am thrilled with it because everything coordinates together - stencils, embossing folder, stamps, and dies.  


supplies: white cardstock, Altenew Craft Your Life Watercolor Flowers kit: stamp, stencils, and embossing folder, 3 lightest Cherry Blossom inks, Enchanted Garden purplesSpring Bouquet greens, Mountain Pine mini ink cubes and blender brushes, adhesive foam squares

I first stamped one of the floral images, then used the stencils to color it, and finally, attached the embossing folder and ran it through my machine.  I LOVE the dimension this gives!  I then separately stamped one of the sentiments and die-cut it, popping it above the card. 

Here's the 2nd floral image in the stamp set. You can't emboss it, but I used the stencils to color it, and a matching die to cut it out and add to an embossed background, along with a foiled sentiment.


supplies: white and aqua cardstock, stamp, stencil, and matching die from Watercolor Flowers kit, 3 pinks and 3 greens from Spring Bouquet, Enchanted Garden purples and Emerald mini ink cubes, Sunny Studios Quilted Hearts embossing folder, Birch Press Design Sugar Script Sentiments Hot Foil Plate and Die set, Teal glimmer foil

As you can see, the stamp set includes 2 large floral images, along with 12 smallish sentiments.  There are 2 stencils for each of the florals, and an embossing folder for one of them.  Then there is a set of dies to cut out both images and all of the sentiments.  This will keep me busy for awhile!

I'd love to enter both of these cards into this week's Simon Says Stamp Wednesday challenge: Something New.

Thank you for coming by - hope you have a lovely day!

Tuesday, January 2, 2024

Cool Crew

Happy New Year! 

I've been eyeing this Cool Crew die set from Taylored Expressions for a year, and finally brought it home thanks to a nice Black Friday sale last year!  I thought they would be a fun addition to my snowman collection; the first ones done in paper!  And I know the GRANDS will enjoy dressing them, too.


These will look cute on a tree, nestled in the branches, or just set on a mantel or shelf.  I made a 2nd group to give to our Grands this year.  The tree in the background is made from Concord & 9th Take a Bough dies, with Impression Obsession cardinals added to the branches.


supplies: white, black, and colored cardstock, Taylored Expressions Cool Crew dies

As always, thanks for stopping by.