This month had something that represents every season!


I was thrilled to be asked to be a guest designer at Amy's Woodblock Wednesday challenge this month!
I had fun trying to decide which of my wood stamps to play with, and in the end, I chose this one by Hero Arts from 2010, and updated it by making it into a mini slim-line. Since it's almost officially the end of summer, I thought I'd showcase this lovely stamp that features a summer hollyhock.


Since woodblock stamps are how most of us began stamping, I think it's genius that Amy gives us a forum for bringing back these beauties! I hope you'll play along, too - you can find more information HERE.

It's the unofficial end of summer and I have a card today that reminds me of the season. I've wanted these Gerbera Daisy dies for awhile, and scooped them up in a sale at Spellbinders earlier this month.

Here is the last instalment of my cards featuring some of the Bibi's Snowflakes Collection. This last set of dies is called Delicate Snowflakes, and they are just that, 4 different 'flakes with dies to accent them with, and shadow dies, too; 17 dies total. Here are my 2 cards.


I have another couple of cards that I made with the stencil set from the newly released Bibi's Snowflakes Collection.


Spellbinders has a new collection designed by Bibi Cameron - it's called Bibi's Snowflakes! It contains lots of sets, all revolving around a snowflake theme. Today I have 2 cards that start with her Snowflake Card Creator and also feature her Snowflake Wishes die/stamp set. This lovely snowflake would make a wonderful large ornament for your Christmas tree, too.
The Snowflake Card Creator is a set of 12 dies: a big 6" snowflake die and its shadow, and some floral dies that you can use to embellish the snowflake. The Snowflake Wishes die/stamps set contains 3 word dies with a separate banner die, and a sheet of lots of sentiment stamps for all occasions to fit on the banner.
Here are my cards.


I used a lovely royal blue glitter paper from which to cut my snowflake, and also the sentiment die. After using an embossing folder that looks like snowflakes for my card front, I added as much of the blue snowflake as I could fit onto my A2 card.
Hope you'll join me again in a few days to see more of my samples using other elements from this new collection!
A new collection of dies was recently released at Spellbinders, called Envelope of Wonder. I have a few samples to show you what that collection is all about.
The "base" die set contains dies to construct an envelope and some flowers to decorate it with; 31 dies in all. The finished envelope measures 4 1/2" wide by 6" tall with the envelope fully open, as I've first used it. It is a true, working envelope, with a slit to hold it closed.


Here I am again to showcase Poshta Design's introduction to the Sewing Kit Essentials being released tomorrow, Saturday, August 19!


supplies: Sewing Essentials Needle Book and Thread Bobbin dies, Dahlia Blossom and Cascade felt and floss (from the Trick or Treat color story), my own ribbon, button, and white cardstock and floss
Here you can see both flowers on the cover of my book. The die set also includes large and small pockets and an inside page die, plus more, to accessorize the book. Here you can see the inside page with a small pocket and needle channels.

supplies: Sewing Essentials Needle Book dies, Shortbread felt (from the By the Bushel color story) and Dahlia Blossom felt and floss (from Trick or Treat color story), white cardstock and floss
I love how these turned out! The scissors case measures about 5 1/2" from tip to top, and the Needle Book is 3" by 3 1/2 " closed.

Many thanks to Lizzie for inviting me to play with her wonderful designs! I thoroughly enjoyed doing so!
Once again, everything you see, plus the autumn and Halloween items I showed you in the past 2 days, will be available for sale at Poshta Design tomorrow, August 19 at noon Eastern time.
Welcome back for Day 2 of Poshta Design's introductions for the new release on Saturday, August 19! Today I'll be showing you the Halloween products.


I am so honored to share that I will be Guest Designing with Poshta Design for the new release this week! I had the best time playing with my new goodies, and was VERY impressed with the quality of everything in the kits. Let's get started!
Today is the introduction of the Autumn products! Fall is a favorite season for me, one that I look forward to each year, and Lizzie has it well-represented in this release!


Here are my card samples using the newly released Nutcracker Sweet Collection from Spellbinders.
The paper pad has some lovely designs, and that's where I started for both my cards today, then adding ephemera to match.


Taylored Expressions brought out a Christmas kit late last month which I couldn't wait to receive! Today I have 3 cards made from the elements in the kit. The kit consists of 2 sizes of wreaths, with layering stencils to match, some extra sprigs (which I didn't use today), and the letters "J" and "Y", plus dies to cut everything out. The set is engineered very efficiently, as there is 1 large 6" cling stamp to stamp all the elements, then 3 stencils which get layered on next, and finally dies that will cut everything out.
First I made a card with the largest wreath, adding an old sentiment die.


The Spellbinders Club Kits for August are now available!
Here is my card featuring the Glimmer of the Month kit: Overflowing Floral. This month, you can also add a stencil set to it!


The Spellbinders Club Kits for August are now available!
My first card features the Clear Stamp and Die of the Month, Happy Hello Floral, and the Embossing Folder, Arches and Dots.

I stamped and colored the floral image with markers, then used one of the dies to cut out the right side of the image, trimming the left side closer. Then I embossed on a purple cardstock to match the flowers, added a thin strip of dark green, and a sentiment to my floral panel, and glued all to a card base.
The stamp set has a total of 5 sentiments along with the large floral, and there are dies to match everything.
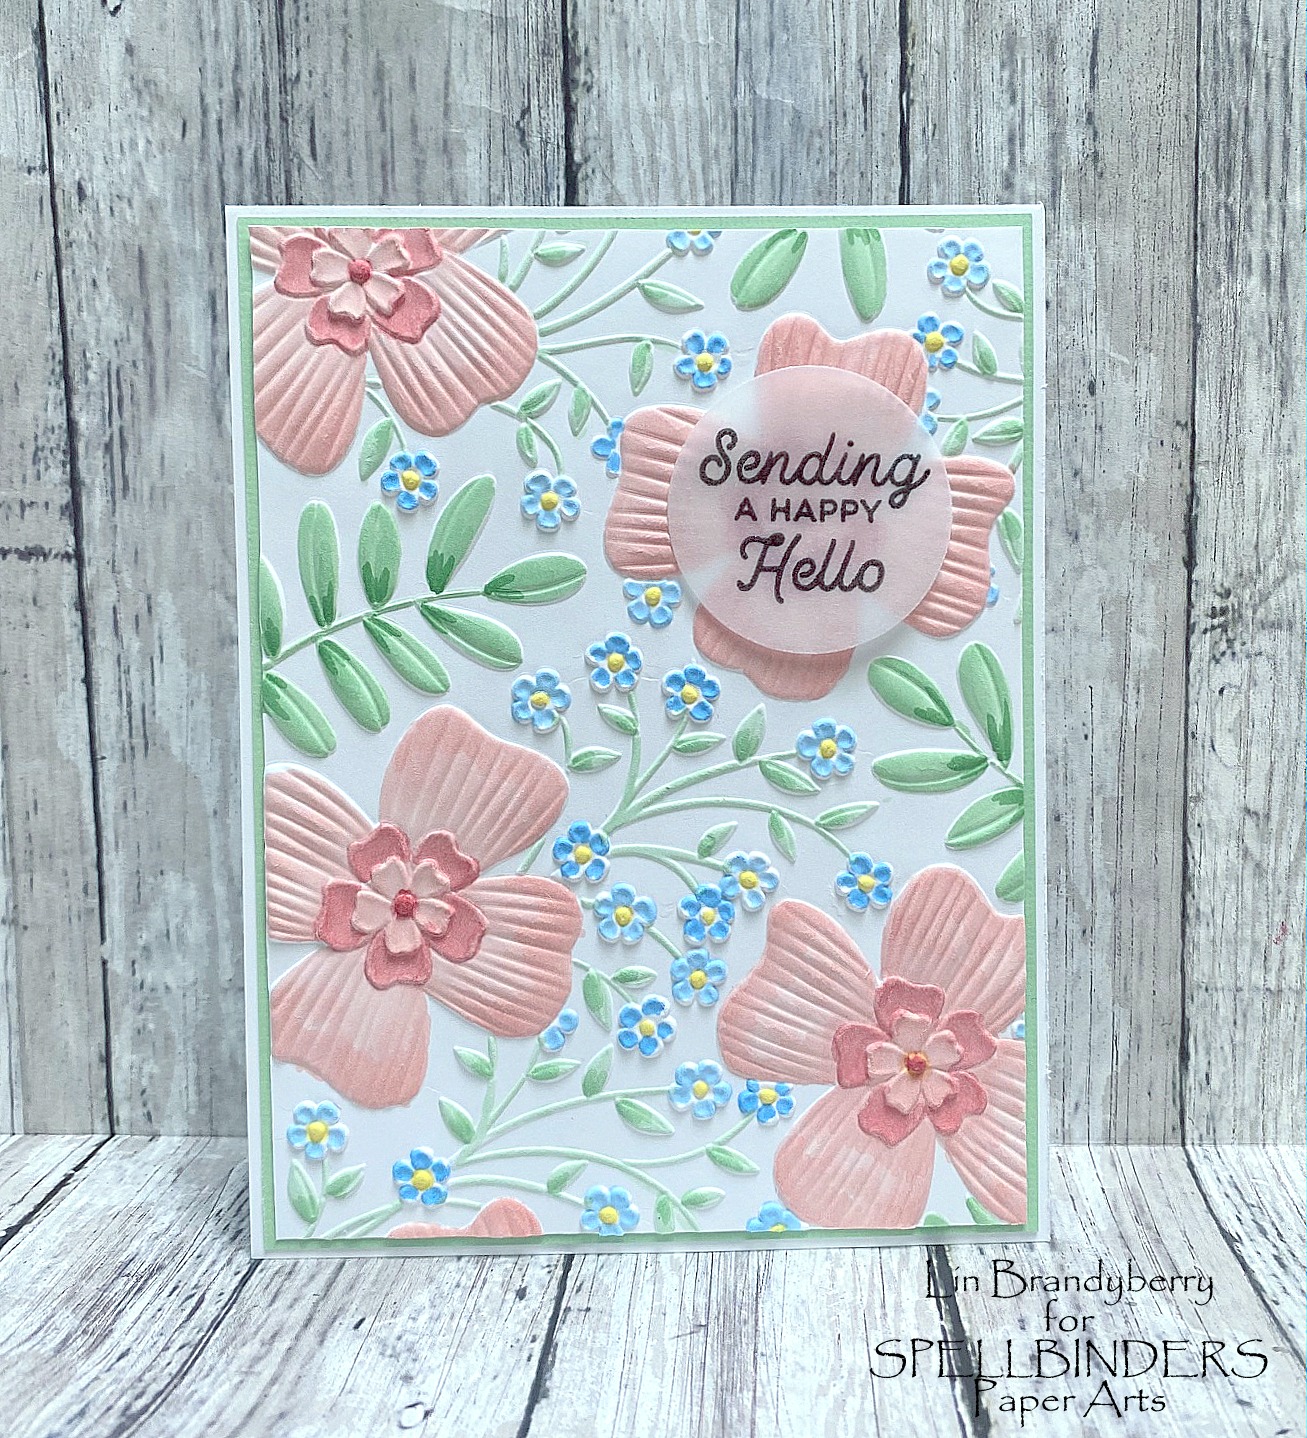
Here is the 3D embossing folder, 3D Stylized Floral. I made 2 cards with it. On the first one, I simply embossed it on a white panel, and then carefully colored it with alcohol markers, adding my sentiment to a vellum circle.

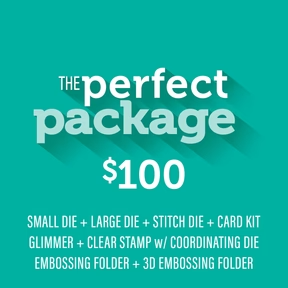
You can look HERE for information on Spellbinders Clubs. Each is available only from the 6th until the 27th of each month. If you click on my links under each card, you can see the specifics of each product. You can subscribe to the kits separately, but there are also lots of ways to combine several of them (scroll down and look under Value Clubs). And you can "unjoin" a subscription at any time without any penalty.
The Spellbinders Club Kits for August are now available!
Look at the details in this Small Die of the Month Kit: Breezy Swing!


