Showing posts with label peach. Show all posts

Monday, August 12, 2024

Yana's Poppies, part 2

 Here's a die that's part of the new Yana's Poppies Collection.  

For my first card, I cut it twice from ivory cardstock, added tape to the reverse to hold everything together, then colored in the details with some peach and green Zig markers.


supplies: white and Pink Sand cardstock, Yana's Poppies die, Zig markers to color, Floral Expressions 3D folder, medium scalloped dieCurved Everyday Sentiment, foiled in Blush glimmer foil, adhesive foam squares

I wanted some texture behind my flowers, and this month's lovely Floral Expressions 3D embossing folder did the trick!

On my 2nd card, I used colored cardstock, and paper-pieced the design.


supplies: white, black, bright yellow, orange and green cardstock, Yana's Poppies die, Poppy Background press plate, sentiment from All Seasons Summer press plate/die set, gold glimmer foil

I embossed the Poppy Background press plate, and foiled a sentiment from another new press plate of sentiments called All Seasons Summer.

Thanks for visiting me today!

Sunday, June 16, 2024

Be Fearless

 I haven't had anything new from Pink Fresh Studio in awhile, so after their latest release, I grabbed a new stamp and stencil combo and a set of peach inks.


supplies: white and Peach Sorbet cardstock, Pink Fresh Studio Be Fearless stamps and matching stencils, Chasing Sunset and Forest Glades mini inks, blending brushes, (retired) Paper Smooches Fab Frames die, sentiment from Mama Elephant Paola's Wishes, Peach Blush gems

This peach and sage combination is cooling to me today, as it's humid here.  After stamping and stencilling my flowers, I fussy-cut them out, which is a calming thing for me, too.  Of course, if you're not into that, Pink Fresh always obliges with matching dies!

Here's another design switching up to a cool aqua.


supplies: white and aqua cardstock, Be Fearless stamps and matching stencils, Morning Sky and Lime mini ink cubes, blending brushes, sentiment from (retired) Simon Says Stamp Summer Garden, Spellbinders Floral embossing folder, Capri Blue gems, adhesive foam squares

I used just 2 of the floral sprigs this time, with an extra bunch of leaves at the very bottom.

Hope you're enjoying your weekend - thank you for stopping by!

Friday, May 24, 2024

Bayfair by Rosie's Studio Card Kit

Here's a new Card Kit from Spellbinders from the Bayfair Collection!  I really enjoyed playing with the patterned papers, ephemera, and chipboard embellishments - there's even a set of buttons to match!  I also received Spellbinders new Guillotine Paper Trimmer, and used it to make all of these cards - it cuts like butter!

Here are three cards I made with the papers and ephemera, and a 4th card using the flower dies in this collection.

supplies: white and burgundy cardstock, Bayfair 6" Designer paper, large floral Ephemera Diecut, and Chipboard sentiment strip, Hemstitch Rectangle die

On this 2nd card I used 2 identical pieces of ephemera to form a wreath which I popped above the pretty floral background, then added a foiled gold chipboard sentiment.  I also added 2 small gold-foiled flowers in the centers of 2 of the wreath flowers to add some more gold foiling.


supplies: card base, pink Bayfair Designer paper, 2 Ephemera diecuts, Chipboard sentiment, adhesive foam squares

The collection also has some blue items, which I used for my 3rd card.  Since the main motif is on the small side, I cut down my card base to 4 1/4" X 5".  The banner reads "live laugh love" in gold foiling.


supplies: white cardstock, blue Bayfair Designer Paper, blue gingham Chipboard rectangle and sentiment banner, 2 blue butterfly Ephemera

This collection also includes a floral die set called Floral Spray, which I paired with another of the Designer Papers for my final card.  I also added one of the Bayfair buttons to the center of one of the flowers.


supplies: peach to brick, 2 greens, black cardstock, Bayfair Designer Paper, Floral Spray, Bayfair button, Curved Everyday Sentiments glimmer plate/die, gold glimmer foil

I love this script designer paper from the pad, so I paired it with just a few of the flowers that are included in the Floral Spray die set - this one has lots of possibilities for layering, too!

Hope I've inspired you to give this Bayfair Collection a look!  

Before I go, I wanted to make sure you've seen the amazing sale going on over at Spellbinders, with savings of up to 50% off on a really large inventory of products!  Click HERE to see what you can't live without!  The sale continues through May 30 at midnight Eastern time.

Thanks for stopping by!

Monday, May 20, 2024

Flower Power - Peach and Lavender

I wanted to enter the current PinkFresh Studio challenge - it's called Flower Power.  I chose to use a retired stamp/die/stencil combo and some unusual (for me) colors this time.


supplies: white and peach cardstock, PinkFresh Studio retired Joyful Bouquet stamp, stencils, and die, Ornate Oval Frame die, Stitched Essentials cover plate, Hero Arts sentiment, lavender seam-binding ribbon

In my mind, Pink Fresh has always been a company that makes beautiful flowers for us to play with, so this challenge is perfect!  

Thanks for stopping by! 

Tuesday, January 16, 2024

Hello Beautiful

Today's card uses a layering stamp and matching die from The Greetery, but I'm sorry to say that it's been discontinued.  I wanted to use the color of the year, peach, on it.


supplies: white cardstock, The Greetery (retired) Sketchbook Roses stamps and matching die, Simon Trio #9 inks (melon, canteloupe, and sherbert) and Altenew Spring Bouquet greens, blending brushes, The GreeteryTartan Builder Diagonal layering stencils

I've used these stamps several times before, and it's so versatile for teaming up with different backgrounds.  This time I decided to stencil a simple plaid and pop the florals up above it.

How is your week going?  Hope you're keeping safe and cozy during this crazy weather!  Thanks for stopping by!

Friday, November 10, 2023

Kaleidoscope Arch Collection

 I was pleased to receive a stamp set and a die set from the new Kaleidoscope Arch Collection, and I made 2 cards with them!


supplies: cream, 2 peaches, yellow, and sage green cardstock, Kaleidoscope Arch dies and Kaleidoscope Sentiments stamps, Flower Frenzy 3D embossing folder

I used 2 of the arch dies, the flower and leaf dies, and one of the large sentiments from the stamp set, along with a stamped banner sentiment, arranged, and placed over my favorite floral embossed background.  I really like the way the large sentiments fit into the arches!  There's another one, too, that says "Thanks So Much", plus 2 other smaller supporting sentiments to fit on the banner. 

On the 2nd card, I used only the dies.


supplies: white, blues, aquas, purples, and green cardstock, Kaleidoscope Arch dies

As you can see, there's 1 stitching die included in this set, which can be added to the main arch, and there's also a die-cut sentiment: "From Me to You".  Since I did my first card in warm colors, this one got cool ones.

The collection also includes a new stencil and a press plate, so do be sure to check them out, also.

Let's enter both these cards into Simon's Wednesday Challenge: Thinking of You!

Thanks for visiting today - hope your day is a crafty one!

Wednesday, August 30, 2023

Woodblock Wednesday!

 I was thrilled to be asked to be a guest designer at Amy's Woodblock Wednesday challenge this month!  

I had fun trying to decide which of my wood stamps to play with, and in the end, I chose this one by Hero Arts from 2010, and updated it by making it into a mini slim-line.  Since it's almost officially the end of summer, I thought I'd showcase this lovely stamp that features a summer hollyhock.


supplies: white card base, peach and black cardstock, Doodlebug peach gingham, and a script pattern paper, Hero Arts Garden Silhouette woodblock, VersaMark ink and white embossing powder, peach and green inks, blending brushes, sentiment from Clearly Besotted Sweet Little Sentiments

Starting with a skinny panel of a script pattern paper, I stamped using VersaMark ink, and white embossed the image.  This particular stamp inks the negative of the image, leaving the details alone so that the background paper shows through.  Then I used small blending brushes to add peach ink to the flowers and green to the leaves and bugs.  The panel was then matted in peach cardstock, and affixed to a mini slimline card base 3" X 6" on which I'd added panels of peach gingham and the same script I used to stamp on.  To finish I added a simple script sentiment embossed in white on black.


Since woodblock stamps are how most of us began stamping, I think it's genius that Amy gives us a forum for bringing back these beauties!    I hope you'll play along, too - you can find more information HERE.

Saturday, June 24, 2023

Brushstroke Blossoms

 I've been trying to use supplies that have been neglected.  Today's card uses some Tim Holtz Brushstroke Flowers dies, and I used solid cardstocks from some ancient 6" paper pads.


supplies: white, 2 yellows, 2 peaches, 2 greens cardstock, Lawn Fawn Rainbow Watercolor Wishes dotty patterned paper, Brushstroke Flowers 1 dies, a Tim Holtz Sentiments Label Sticker, Spellbinders Postage Edge Rectangle

This big fluffy flowers look like summer to me, and the dotty paper in the same colors makes a nice background for them. 

Thanks for stopping by today!

Sunday, June 18, 2023

Anniversary Roses

 I took advantage of a Memorial Day Sale at Birch Press Design and brought home this lovely.  In my opinion, you can never have too many roses!


supplies: white, 3 peach shades, and 2 green shades of cardstock, Rose Bunch Contour Layers dies, leaves from Altenew Garden Picks dies, (retired) The Crafts Meow Sweet Sentiments

On her wedding day, this bride carried shades of blush roses.  These new dies are a perfect size, needing nothing else but some leaves and a sentiment.  

Thanks for stopping by!

Saturday, June 10, 2023

Sealed for Summer release from Spellbinders

Here are 2 cards that use several elements from the new Sealed for Summer release: the Floral and Vine 3D embossing folder, and the Glimmer Bouquet foiling plate. 


supplies: white and gold mirror cardstock, vellum, Floral & Vine 3D embossing folder, Glimmer Bouquet plate and matching die, Gold glimmer foil, Zig markers and water, Punch & Pierce Frame Sentiments dies, gold confetti

After embossing with this pretty folder, I foiled the floral bouquet and colored it, then cut it out and centered it on the embossed front, then added my sentiment with its shadow on vellum, along with some gold confetti to the centers of the smaller flowers and around the edges.  As always, the foiling takes this simple design up a notch!  And that embossing folder is another keeper!  

For my next card I went monochromatic, with tiny white touches.


supplies: white and Peach Sorbet cardstock, Sealed for Summer Glimmer Bouquet, Blush glimmer foil, sentiment from Illustrated Floral Glimmer set, Essential Glimmer Rectangle glimmer plate, peach alcohol marker, white gel pen

I foiled the bouquet and some older glimmer dies on a panel of Peach Sorbet cardstock using blush glimmer foil, then added some extra color and details with a peach marker and a white gel pen.

Thanks for coming by today - enjoy your day!

Sunday, April 16, 2023

Just a (Spring) Note

 The Greetery had a recent spring release, and I chose the new Spring Sprays stencils and dies. Here's my first card.


supplies: white and peach cardstock, The Greetery Spring Sprays layering stencils and matching dies, Opposites Attract stamp and die, Sunny Studio Frilly Frames Lattice die, peach and white pearls

The stencils are 4 pieces and allow you to get the design down in your choice of colors, then add some layering dies for dimension..  The dies have an outline die for each spray, plus lots of individual flowers to add some fun details.

Thanks for stopping by - enjoy your day!

Saturday, January 14, 2023

Anemone Glimmer Blooms

 Here's another card from Yana's Anemone Blooms collection, this time using a glimmer plate and hot foil.


supplies: cream and peachy pink cardstock gold mirror cardstock, Anemone Glimmer Blooms plate,   matching die, and sentiment die, Gold glimmer foil, Hemstitch Rectangle die, microdot adhesive

This set has a large floral glimmer plate, a die to cut it out, and a sentiment die and matching shadow die (which I didn't use this time).  This glimmer design is very similar to Yana's Anemone dies (seen HERE), except that she's added some delicate baby's breath details to this one.  The gold glimmer foil looks really elegant against cream cardstock, and I wanted to keep the colors soft, so I colored the flowers in a peachy-pink.  

Yana's designs are lovely, don't you agree?  Thanks for stopping by!

Sunday, January 8, 2023

Just Because

 It's been a dreary January so far, so I decided to brighten things up a bit with this glitzy card today!


supplies: white, black, and peach cardstock, Simon Bouquet of Roses stencil, Altenew Magenta and Volcano Lake inks, Nuvo Moonstone Glimmer Paste, Just Because die, peach enamel dots

I first applied inks through the stencil, and then smoothed on some glitzy glimmer paste.  Maybe because of the bits of gold in the paste, the magenta color of the flowers turned to more of a peachy pink!  Here's a close shot to show the pretty glimmer.


This Just Because sentiment will allow me to send this for a variety of occasions!  

Thanks for your visit today - I hope your day is a good one!

Sunday, November 6, 2022

Blooming Flower Bed

 I fell in love with this little set of flower stencils from Altenew as soon as I saw it!  Here are 2 easy cards using them, one cool, one warm.


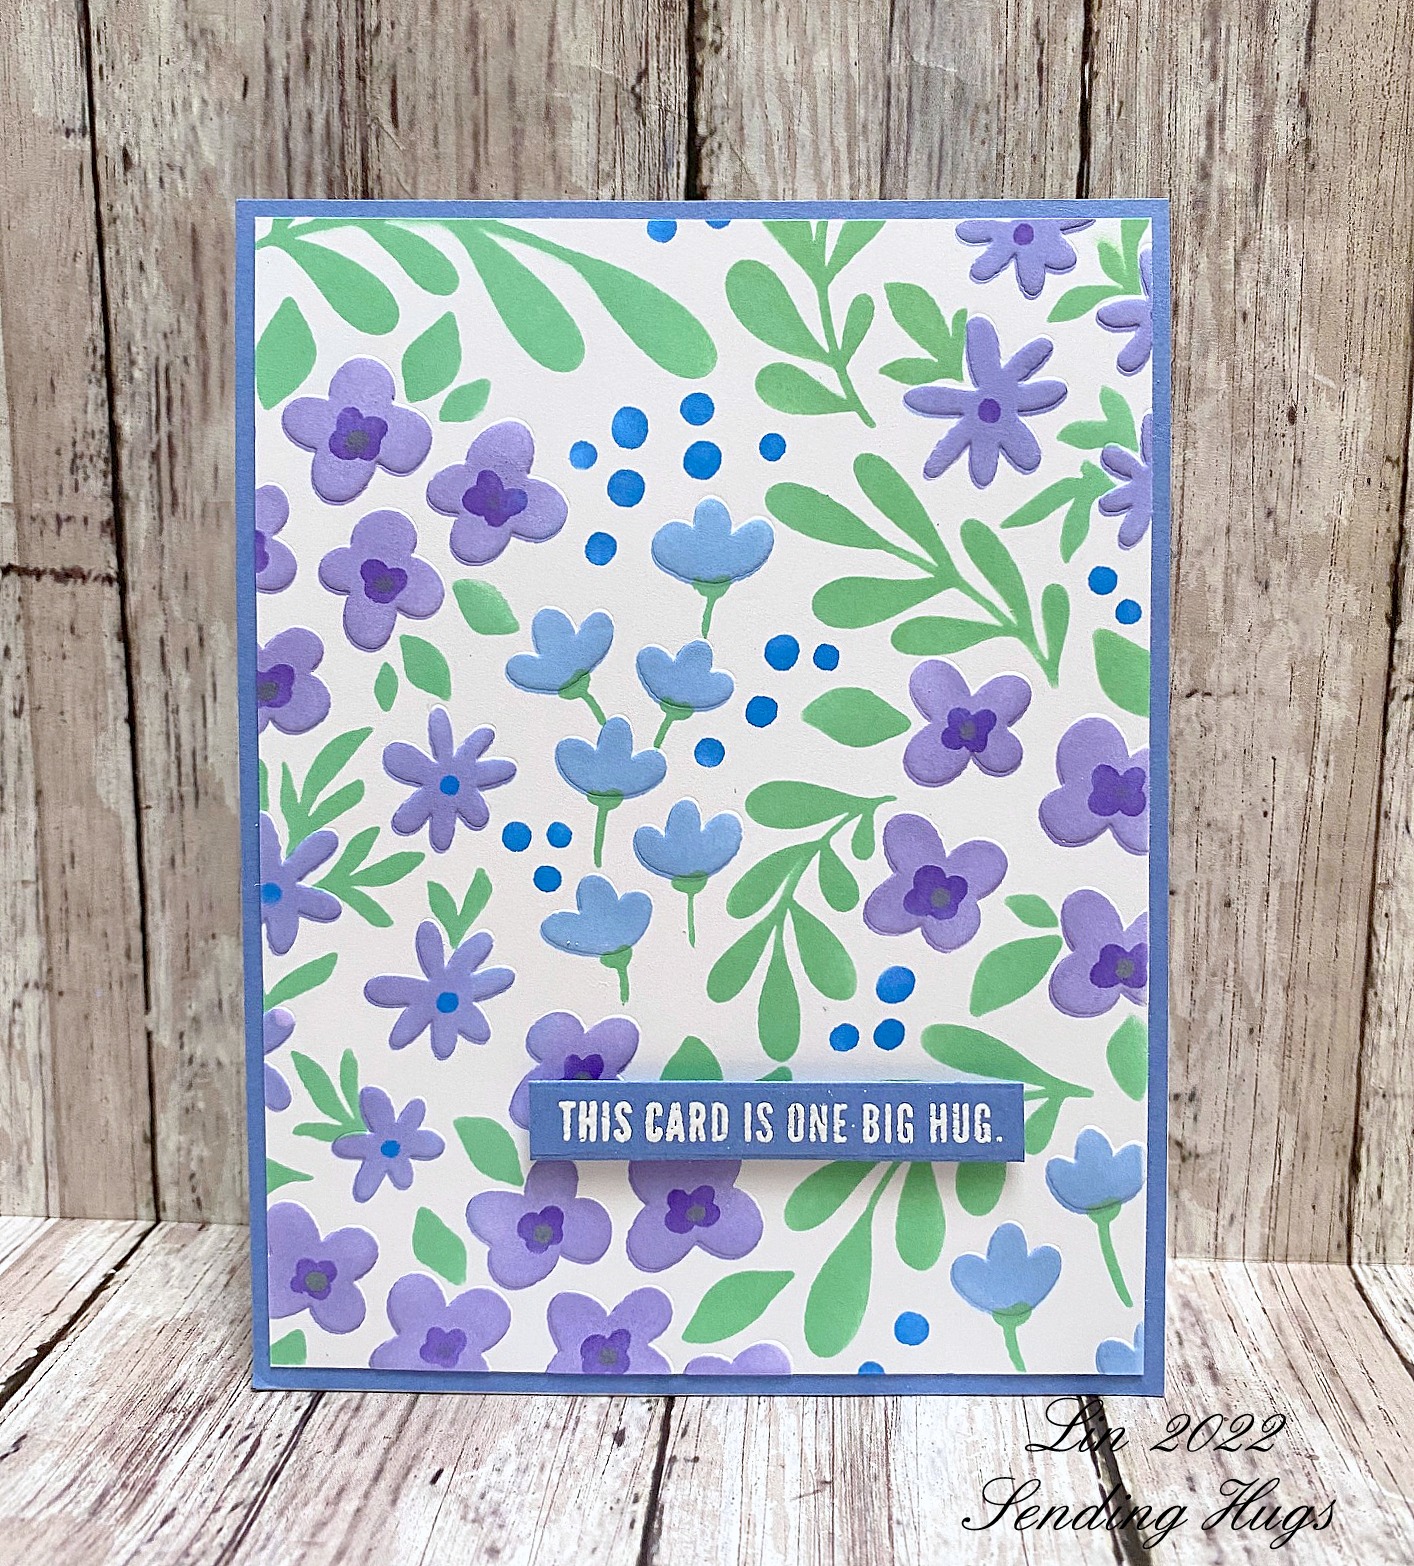
supplies: white and periwinkle cardstock, Altenew Blooming Flower Bed stencils, blue mini inks from Lapis Lazuli, purples from Enchanted Garden, Simon Dublin green ink, sentiment from (retired) 2013 clear set called Happy Every Day, adhesive strip

My small blending brushes from Simon are the perfect size for stencils like this, so that you can use more than one color per stencil as I did today on both my cards.  Since this is such a simple design, I layered the flower stencil back on top after all coloring was finished and ran it through my die-cutting machine with embossing pads to give it some subtle dimension.  I did the same on my next card.


Layered stencilling has become one of my favorite techniques, and I always love the results - bless the designers of these products!

Thanks for stopping by - enjoy your day!

Friday, October 7, 2022

Layered Stitched Diamonds

Spellbinders kindly sent me a new set of Limited Edition dies to stitch with - these are made so that you can layer them, and that's just what I did.  

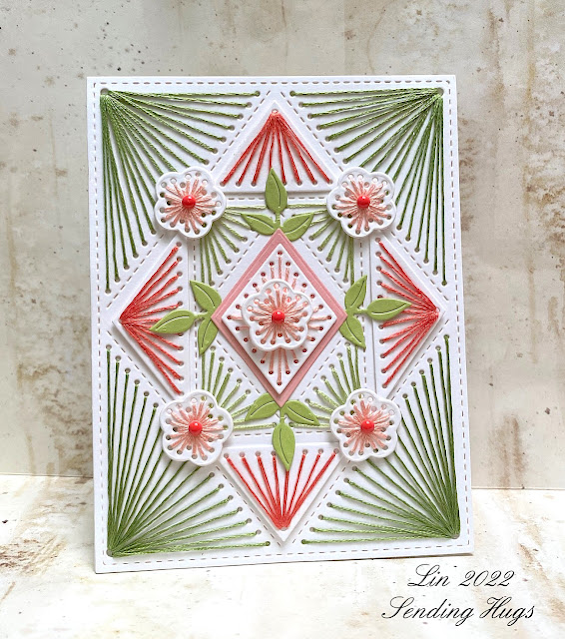
For my first card, I pulled out some green and peach floss and embellished the design with stitched flowers and leafy die-cuts from a previous stitching set.


supplies: white and Green Apple cardstock, Layered Diamonds die set, flowers and leaves from Stitched Flower set, 2 shades of green and 2 shades of peach to coral embroidery floss, 3 strands, coral enamel dots

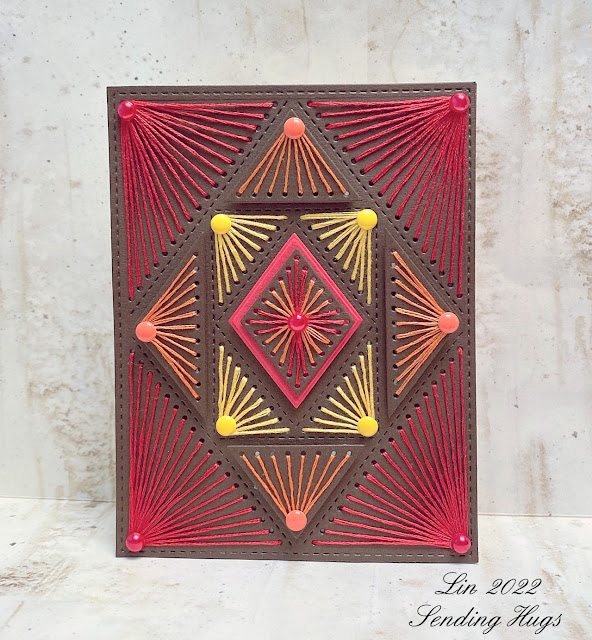
Given the time of year, for my second card I used fall colors of embroidery floss against a dark chocolate base.


supplies: dark chocolate  and Lipstick Red cardstock, Spellbinders Layered  Diamonds dies, 3 strands of embroidery floss in bright red, orange, and yellow, enamel dots and red pearls to match, adhesive foam squares to lift orange and center panels.

The orange and center panels are lifted with adhesive foam above the rest of the card - I wish my photo showed that better.  When I finished this card I was struck with how much it looks like an Amish quilt!  They use dark backgrounds behind their patterns, as opposed to the usual white that the rest of the world uses.

I did not add a sentiment to either of my cards - I'm fussy about messing up the symmetry.  BUT I may have done if I'd had the matching set of diamond sentiments that was made to coordinate - what a nice variety!

As always, many thanks to Spellbinders for sharing this new set with me!

Sunday, May 15, 2022

Bold Blossoms

 I have seen so many lovely cards using the Be Bold Blooms that I had to get them for myself.  Here's my first play with them.


supplies: cream, peach, dark peach, various greens, pale yellow, and kraft card, Spellbinders Be Bold Blooms, (retired) Tammy Tutterow Tiny Sentiment, Sunny Studio Frilly Frames Lattice die

I cut out almost all of the elements in this 21-piece set, and then just played for about a half of a day to make an arrangement.  The 2 largest flowers were popped up above everything else, and their petals pulled forward for some dimension.  

Hope you're enjoying your Sunday - thanks so much for coming by!

Friday, September 3, 2021

Floral Delicacy Birthday card

 I couldn't resist Betsy's latest release which included this sweet floral spray called Floral Delicacy.  I used it to make a birthday card.


supplies: white and peach cardstock, The Greetery Floral Delicacy clear stamps, Altenew Tea Party and Spring Bouquet greens mini ink cubes, The Greetery Opposites Attract sentiment stamps, Sunny Studio Lattice Frilly Frame die, Doodlebug tiny heart sprinkles

I adore these multi-step sets that, when paired with inks in shades of a color, make creating a card pure joy!  I paired these florals today with another Greetery sentiment set that mixes bold words with dainty handwriting.

Thanks for stopping by - enjoy your weekend!

Friday, July 2, 2021

Peach & Mint

Today's card was inspired by a Talbot's ad I keep seeing on Instagram that showcases fashions in peach and mint.  During last week's heat and humidity, I stayed in and stitched!  It takes me about a day to complete this design.  This time I backstitched around each element.


supplies: white and Carnation cardstock, Spellbinders May Large Die of the Month, peach and mint embroidery floss, Sunny Studio Quilted Hearts embossing folder, PinkFresh Studio Sending Phrase Builder, white pearls

This time I added the stitched panel to a white card base - I think it makes the stitching stand out all the more. But I couldn't help embossing just the center piece to add some more subtle texture.  The delicate hugs die works nicely with the rest of the design, and is part of a sentiment die set I've been wanting for a long time.

Weekend!  Hope yours is a safe one!  Thank you so much for stopping by today.

Monday, March 29, 2021

Peach and Green

 Earlier this month, Dawn McVey issued one of her color challenges on Instagram: to use peach and green.  I had just received this sweet Daisy Wreath layering stencil set and this was its first outing.


supplies: white cardstock, Sunny Studio Gingham Pastels (reverse) dp, Pink Fresh Studio Daisy Wreath stencil set, altenew inks and blender brushes, sentiment from The Greetery Lovely Blossoms, Doodlebug heart sprinkles

I'm a big fan of any layering supplies, be they stamps, dies, or stencils, since I much prefer adding my color with inks instead of pencils or markers, and I'm very pleased with the Pink Fresh stencils.  This set has matching dies, but this little wreath was easy enough to fussy-cut.

I found in making this card that I don't have many true peach papers or inks, something I need to remedy, as it's a lovely color!

Thanks for coming by today - hope you have a lovely week!

Wednesday, February 10, 2021

Simon Says.......Slimline Cards


Happy Wednesday - welcome to our challenge at the Simon Says Stamp Wednesday Challenge Blog!


This week we'd like to see your Slimline Cards!  The team is showcasing LDRS Creative products this week, but you can use any supplies you have for your creation.

I found a really net set of dies meant for slimlines, called Slim Line Corner Scallop dies.  There are a whopping FOURTEEN dies in the set, everything you could possibly need to get started making these fun cards! 


supplies: white and coral cardstock, LDRS Creative Slim Line Corner Scallop dies, Pink Fresh Studio Floral Notes stencils, Altenew mini ink cubes, Simon Leafy Frames sentiment, Doodlebug gold sprinkles

For this card I used the 2 largest framing dies in the set, and a set of layering stencils.  These peachy pinks are so appealing to me in these dreary days. And I thought the scale of this sentiment worked nicely with the overall design.

This die set contains the above 2 large framing dies, and window dies in squares, flower shapes, and heart shapes, plus a leaf!  Many of the dies have stitched details.  I decided to use the heart dies and one of the large stitched rectangle dies to make a 2nd card.  I love blues and yellows, and these Wplus9 elements were the perfect scale to go with the heart motif.


supplies: white and blue cardstock, LDRS Creative Slim Line Corner Scallop dies, Wplus9 Hello and Thanks birds and flowers, Simon (retired) Flower Friend sentiment

Now it's your turn!  We have a $25.00 gift certificate 


to the amazing Simon Says Stamp store for 1 lucky random winner of this week's challenge!  I can't wait to see what you all make this week!