The December Club Kits are now available for new subscribers! This month's theme is Crazy Love.
I could not wait to play with the Small Dies this month. They're named Blooming Hello. What a gorgeous design! I placed it on a background embossed with one of the new stencils from this month.
Since this is a release centering around Valentine's Day, I used pinks primarily on this card, with some blue for forget-me-nots. The effect is pretty subtle, but I used a random heart stencil to emboss my background. And I used tiny adhesive foam pieces to lift the "H" above the card.
Here are 2 more cards using the
Stencils called Two-Way Heart. There are 2 designs, the one which you saw above, using only 1 stencil, and a second which uses the remaining 4 stencils. First is the lone stencil that I used above. This time I inked it with a group of pink inks, then added one of the sentiments from the
Clear Stamps for this month.
And here is a card using the remaining 4 stencils. As above, I used another sentiment from the Clear Stamps, called
Forever Yours.
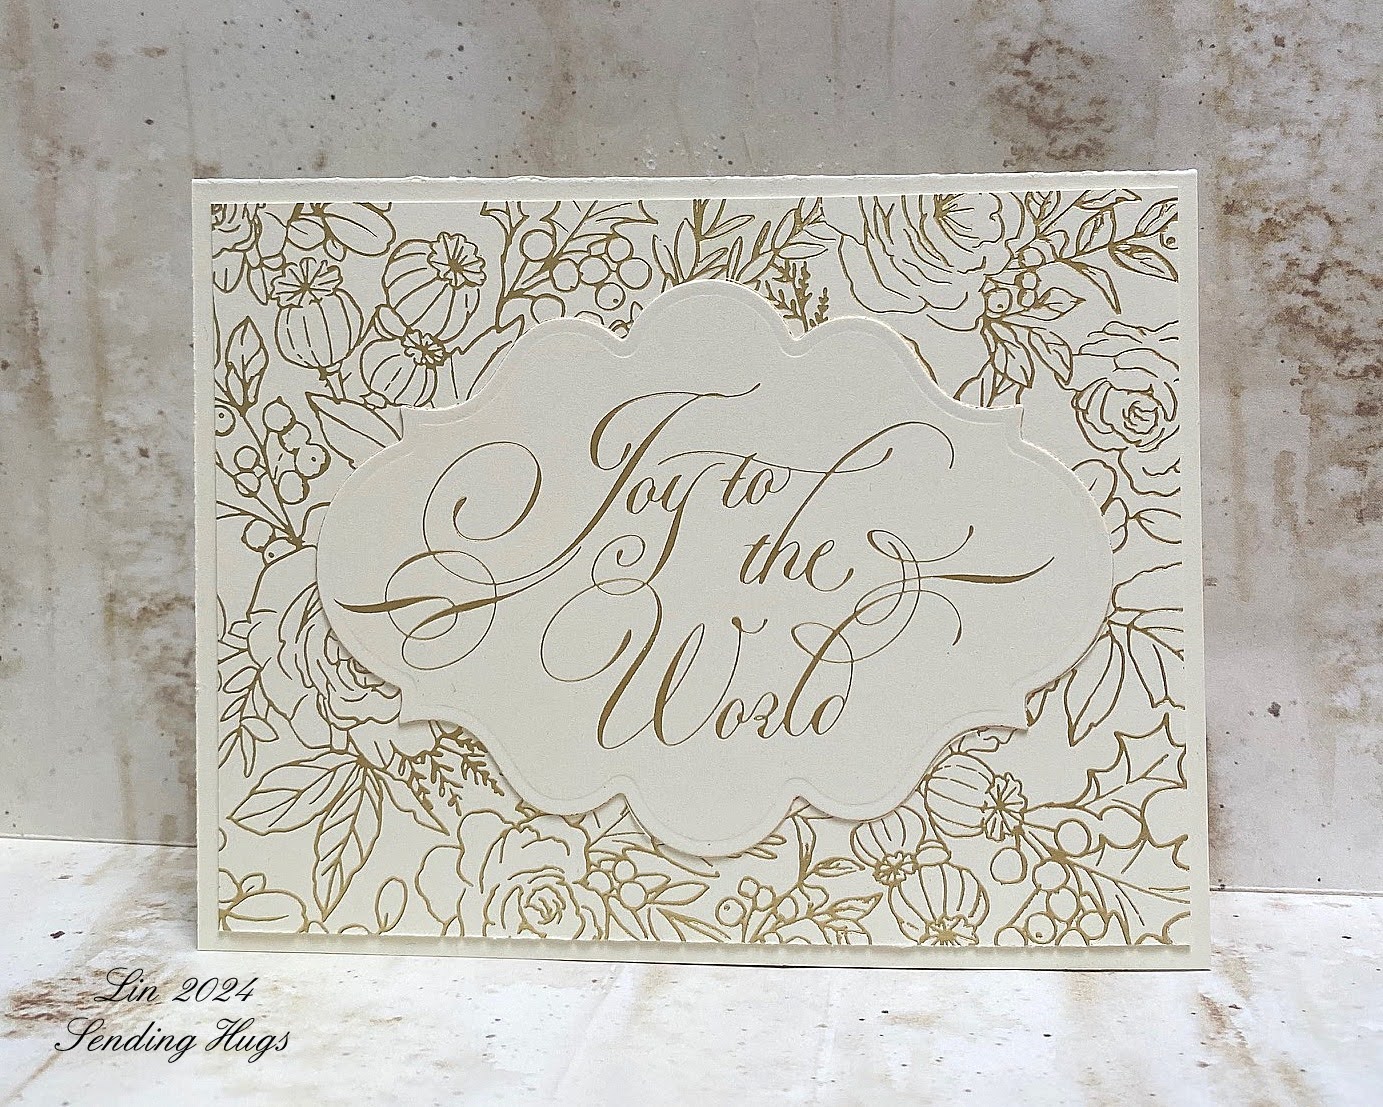
supplies: white and cream cardstock,
Friendship is Everything floral plate and sentiment, cream and green markers to color, matte gold glimmer foil
I made it easy on myself and made the flowers cream. I think that color combination with the gold foiling makes an elegant design.
My next 2 cards feature the embossing folders for December. The
3D folder is called Tiny Hearts Scallop, and I mixed it with a few dies from the
Large Dies: Monster Love Pop.
The 2D folder is called
Heart Swag. I added a big die from last year and another of the sentiments from this month's clear stamp set.
On both cards, after embossing, I gently rubbed a red ink across the surface.
And finally, the Stitching Dies are called
Stitched Notch Corner Card Front. I love the notched corner die that serves as a frame for the whole thing, with it's tiny hearts all around the edges, and also the pretty florals. I used pink and mint for my card.
supplies: white, Cotton Candy, and Mint cardstock,
Stitched Notched Corner dies, 3 strands of pink embroidery floss, tiny adhesive foam squares
You can look HERE for information on Spellbinders Clubs. Each is available for new subscribers only from the 6th until the 27th of each month. If you click on my links under each card, you can see the specifics of each product. You can subscribe to each of our 10 kits separately, (and you can "unjoin" a subscription at any time without any penalty), or you can get them all, plus a free bonus item each month, and save 60% by choosing the Deluxe Caboodle!