Showing posts with label pearls. Show all posts

Thursday, May 4, 2017

Paper Smooches May challenge: Flowers

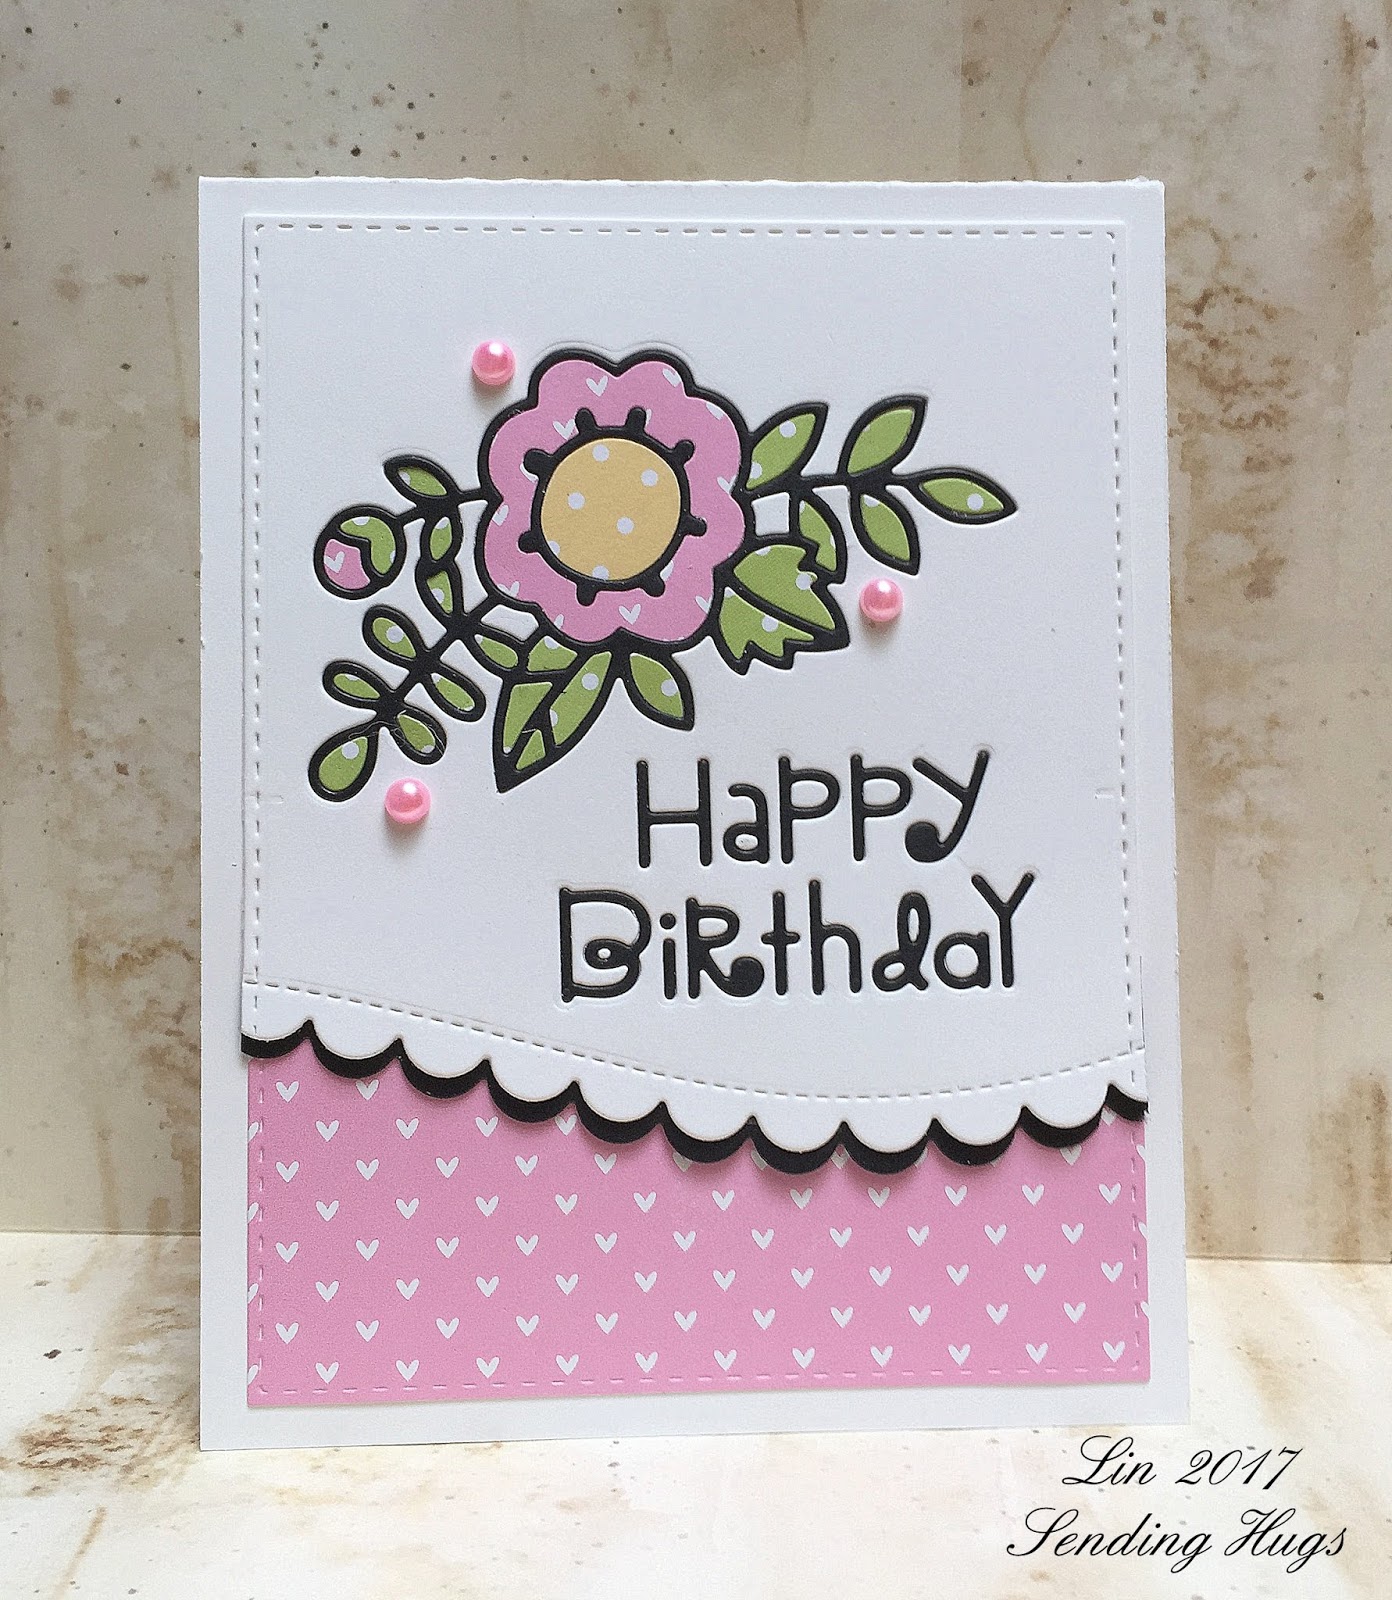
When I saw this month's Paper Smooches challenge, I remembered this cute die of theirs, and decided to do some paper-piecing with it!


supplies: white and black cardstock, MFT Lucky Prints paper pad, Paper Smooches Adorable Array and Birthday Words dies, Simon's Stitched Rectangle and Wavy Scallop Stitches dies, Doodlebug pink pearls, Stick It

I love pink and green together, and these tiny prints worked well to inlay the various parts of the flower die.  Using the Stick It makes it lots easier, too, to secure everything down nice and tight: after I die-cut the flower and words from my white panel, I removed the die-cuts and  added some Stick It to the back of the panel.  Then I die-cut from the various other papers and paper-pieced them back into the design.

When everything was finished I added the scalloped edge at the bottom, and mirrored it with another in black, then popped the panel over the cute heart print paper, and sprinkled some pearls.


Thanks for stopping by!

Thursday, December 15, 2016

More Christmas from Tammy Tutterow

I have 2 more cards today as part of Tammy's Five for Friday feature coming tomorrow!  Again this time, I'm featuring a couple of her Christmas designs, and once again, I used some patterned papers.


supplies: spruce card base, Doodlebug snowflake design paper, Tammy's Happy Holly Days cling stamp, red and green markers to color, red pearls

I stamped directly onto the snowflake paper, embossed my stamping in clear, then colored in the details.  The panel was trimmed and attached to my card base.  Then I separately stamped, colored, and cut out the holly, and popped it above the base, adding some pearls as berries.

Next up, something a bit more whimsical:


supplies: white and red cardstock, Doodlebug ginghams in 3 greens, a yellow floral,and a striped design paper, Tammy's Merry & Bright Tree cling stamp, red and brown markers to color, red sequins

After stamping the entire design on white cardstock, I stamped and fussy-cut parts of the tree and paper-pieced them back onto the image.  The panel was framed, attached to my card base, and then I added red sequins.

Be sure to visit Tammy's blog to see what my teamies did this time!


Wednesday, November 30, 2016

Simon Says..........Anything Goes

wed-newchallenge-header

Welcome to another challenge at the Simon Says Stamp Wednesday Challenge Blog!


Our theme this week is your favorite Anything Goes!  The Design Team are playing with Concord & 9th products this week, and I made 2 CAS cards with their products, and a bonus project, too.


supplies: white cardstock,  4 shades of aqua and blue glitter cardstock, silver glitter cardstock, Concord & 9th Take a Bough dies (snowflakes only), Tim Holtz Holiday Words: Script die and woodgrain embossing folder, bow die from retired DieNamics Spring Wreath set, sequins to match

I cut the 3 snowflakes from the Take A Bough die set from 4 different shades of aqua to royal blue glitter cardstock, and then attached them to a doughnut I cut using 2 circle dies.  I embossed the woodgrain panel, then attached my wreath, bow, and sentiment, and raised the panel above the card base.  I finished by adding some sequins to match in the center of each snowflake.

I thought I'd share what this die set was really all about: adorable paper trees.


supplies: Take a Bough die set, green and gold glitter cardstock, wood skewers, old wood thread spools, red ribbons

You can see those same snowflakes at the very top of the trees here.  I am so glad I got this set last year......every year now I make a few more of these trees for a forest that's growing on my fireplace mantel at Christmas.  I used some almost lime cardstock for these - the one on the left has some sparkle in it.

And one more card  - I couldn't resist getting this new mistletoe die when it was released this year.


supplies: red, white, and green cardstock, Concord & 9th Mistletoe die, sentiment from (retired) CAS-ual Fridays Merry Kiss-mas, Avery Elle Wonky Stitches framing die, pearls

I cut the mistletoe branch out 3 times and trimmed away everything but the leaves, then grouped them together, adding the bow and some pearl "berries".  Could the sentiment be more perfect? 

Now it's your turn - I can't wait to see what you create!  Heidi has provided another $50.00 gift voucher

50dollar_voucher_600px

to the amazing Simon Says Stamp store for 1 lucky random winner of this week's challenge!

Wednesday, August 3, 2016

Simon Says........Fabulous Florals

wed-newchallenge-header

Happy Wednesday!  Welcome to another challenge at the Simon Says Stamp Wednesday blog!


This week our theme is Fabulous Florals, and the DT are using Hero Arts products!  When I was first introduced to stamping, Hero Arts instantly got my attention with all of their pretty flowers, so I was thrilled to be able to play again with them!

For my first card I used a woodblock flower:


supplies: white and black cardstock, Hero Arts Poppy wood stamp and sentiment from Hero Arts Remember cling set, distress inks: festive berries, barn door, ripe persimmon, and abandoned coral, Memento green and black markers for details, Memory Box Pinpoint Rectangle die, black pearls

I randomly stamped the poppy all across my panel, changing inks for the flowers as I went.  I made small puddles of some of the inks to add some splatters, and also added some big black pearls to the flower centers.

Lastly, using this woodblock floral sprig, I colored it with pencils and made a tag:


SSS Aug3

supplies: kraft cardstock and vellum, Hero Arts Flower Swirl Vine, Prismacolor pencils (Blue Violet Lake, Ultramarine, and Lime Peel), Simon's Summer Garden sentiment, DieNamics Stitched Tags dies, May Arts periwinkle ribbon, Doodlebug dp in blue jeans

Now it's your turn - I can't wait to see what you create!  Heidi has provided another $50.00 gift voucher

50dollar_voucher_600px

to the amazing Simon Says Stamp store for 1 lucky random winner of this week's challenge!

Simon Says Stamp

Wednesday, April 20, 2016

Simon Says.........Make it Girlie

wed-newchallenge-header

It's Wednesday and that means a new challenge at the Simon Says Stamp Wednesday Challenge Blog!


Our challenge this week is "Make it Girlie", and my teammates and I are using Hero Arts products.  I made 2 very different cards today:


supplies: cream, kraft, and 2 Doodlebug pinks cardstock, Hero Arts Classic Tea Rose, picked raspberry and mowed lawn distress markers, Molotow masking fluid, Memory Box Pinpoint Rectangle Layers dies, Old Letter Writing, tea dye distress ink, Hello Stamp & Cut die, Heart Accent Pearl, natural twine, lace

I inked the flower stamp using distress markers, then stamped it onto a panel and lightly brushed it with a damp brush to spread the color out.  After it was dry, I used masking fluid to cover the flower before overstamping the script background, and sponging on a little more tea dye distress ink around the flower.  The masking fluid was then rubbed off, and I trimmed the panel with a pinpoint die, framed it in a skinny kraft frame, then again in a Doodlebug pink.  Since the challenge this week is "girly", I went all the way and used some old lace trim to frame the panel one more time, then added my triple-cut sentiment, a twine bow and a Hero Arts heart pearl.  

After all the layers and detail on the above card, I wanted to make a much simpler design for my second card.


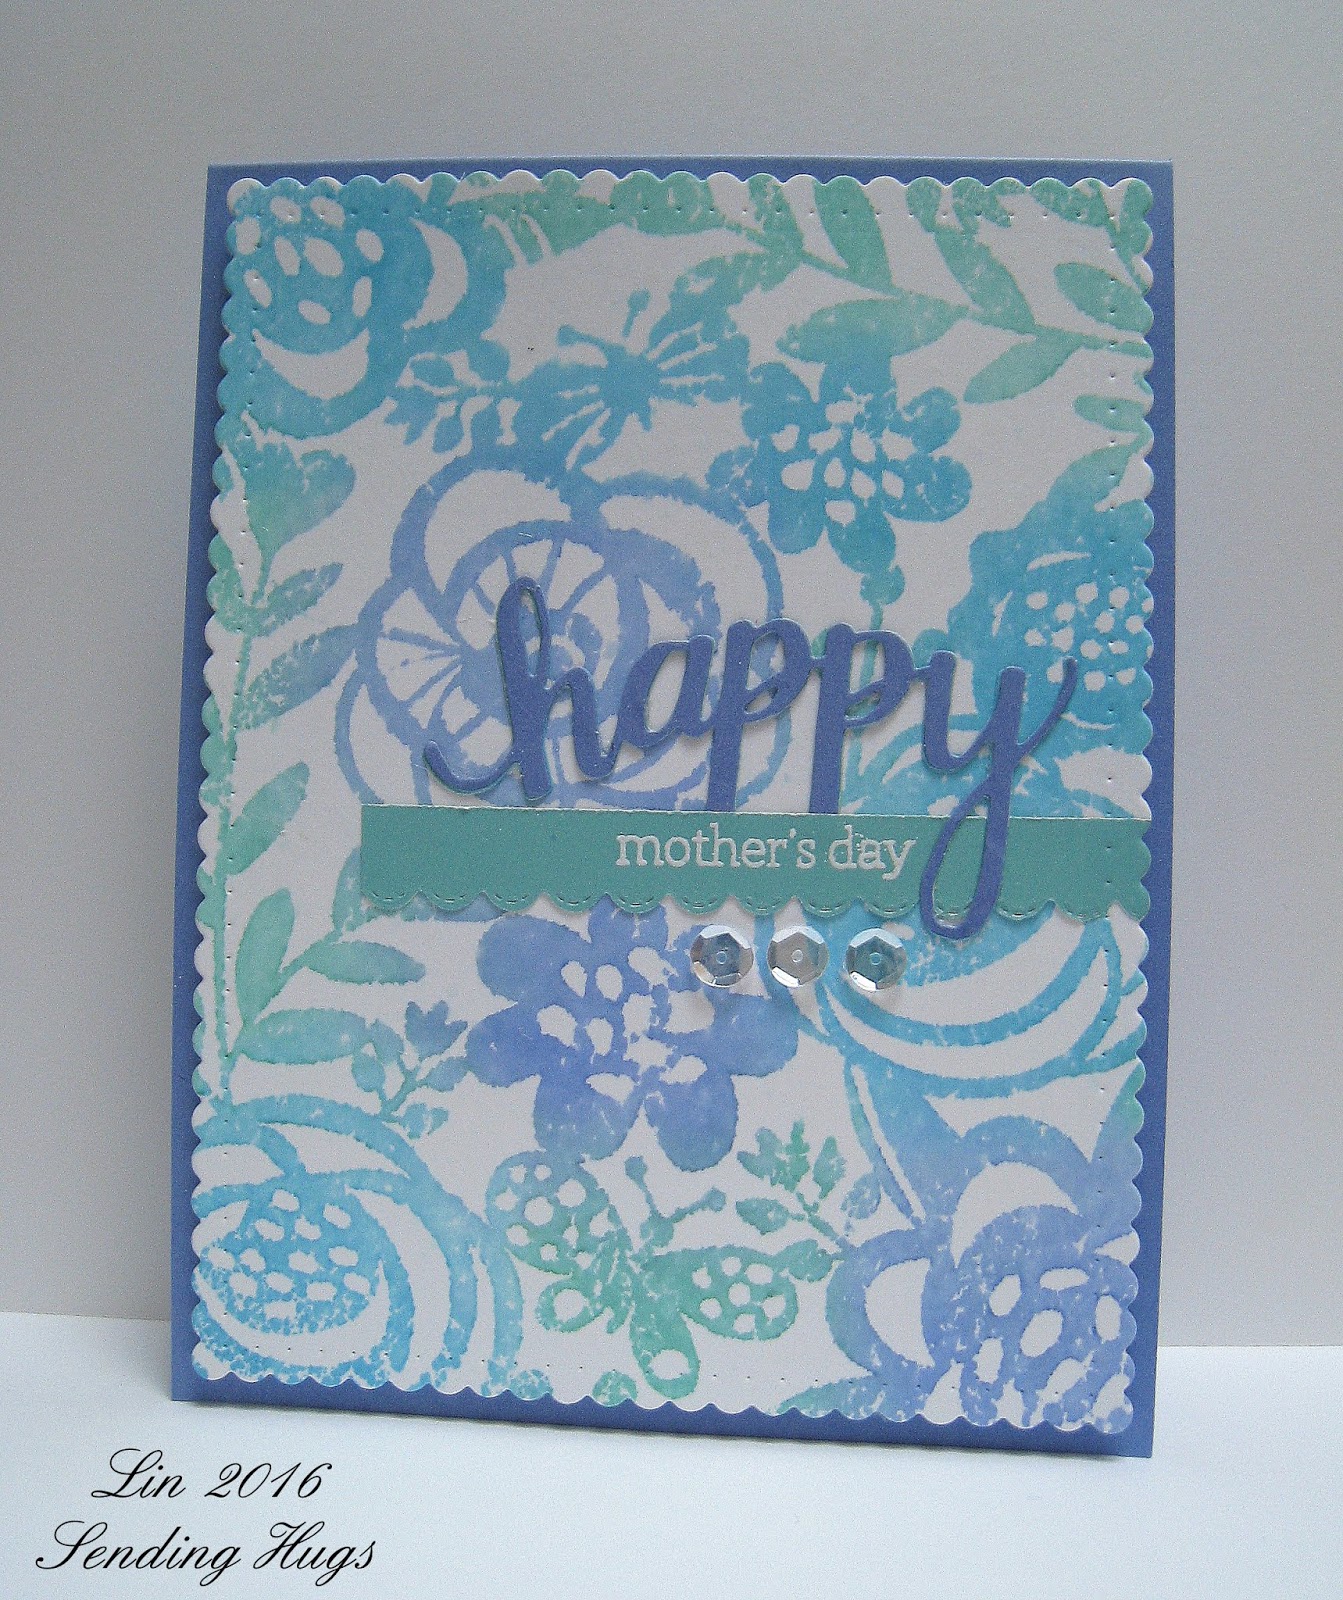
supplies: white, periwinkle, and dark aqua cardstock, Bold Floral Stencil, blueprint sketch, mermaid lagoon, and lucky clover distress inks, Happy Stamp & Cut set, Lawn Fawn Stitched Scalloped Borders die, Winnie & Walter Audrey's Cutaways scallopped frame die, Pretty Pink Posh Sparkling Clear sequins

For this card I inked directly onto the stencil using distress inks, then spritzed it lightly before "stamping" it onto white card.  I trimmed the panel, adhered it to a periwinkle card base, then added my sentiment and sequins.


Now it's your turn!  I can't wait to see what you make!  We have a $50.00 gift voucher to the Simon Says Stamp store for one lucky random winner of our challenge!


50dollar_voucher_600px

Simon Says Stamp

Wednesday, March 2, 2016

Simon Says.........Touchy-Feely!

wed-newchallenge-header
Happy Wednesday!  It's time for another challenge at the Simon Says Stamp Wednesday blog!


This week we have a fun theme for you - we're calling it Touchy/Feely, and by that we want you to add some texture to your creation.  You could use a stencil and texture paste, or choose a material other than paper.  The Design Team are all playing with My Favorite Things products this week.

I chose a die set called the Mini Hybrid Heirloom Rose and some pretty felt to make my cards.  This first one uses all 3 dies together to make my flowers, and I kept everything pastel.  


supplies: cream cardstock, plank and dotted dps, DieNamics Mini Hybrid Heirloom Rose and Layered Leaves dies, Taylored Expressions Cherry Blossom, Orchid, and Avocado felt, also Harvest Gold, various pastel pearls, Simon's It's Your Birthday stamps, Hero Arts Latte ink

And my 2nd card used the non-rolling dies from the set, and my colors shifted to brights:


supplies: white and black cardstock, black dotted dp, DieNamics Mini Hybrid Heirloom Rose, another flower die, bright felt colors, orange buttons, Simon's Painted Hello die, yellow enamel dots

Now it's your turn - I can't wait to see what you create!  Heidi has provided another $50.00 gift voucher

50dollar_voucher_600px
to the amazing Simon Says Stamp store for 1 lucky random winner of this week's challenge!

Simon Says Stamp

Wednesday, August 26, 2015

Simon Says.........Anything Goes!

wed-newchallenge-header

It's time for a new challenge at the Simon Says Stamp Wednesday Challenge blog!


Our theme is our usual end-of-the-month Anything Goes, your favorite!!  The Design Team are playing with Hero Arts products this week.  If you have any of their stamps, stencils, or dies, we'd love to see you using them!  

By now you should have noticed how much in love I am with anything that is a multi-step stamp......most of them up until now have been florals, but Hero Arts is expanding that idea.  They call it color layering,  because you use inks to color the stamped images, and I couldn't wait to play with this Bird and Branch set!  I also used one of their new Stamp & Cut sets for this card.  The mixed fonts of type with a beautiful script is lovely, and what a great idea to give us a die to work along with them!

supplies: Hero Arts Color Layering Bird & Branch clear stamp set, Brilliance pearlescent sky blue, Hero Arts Cornflower, Stone Wash, Green Hills, and Grass, Memento Luxe Toffee Crunch, and VersaFine Onyx Black inks, Hero Arts Happy Stamp & Cut stamps and die set, Hero Arts Grass layering paper and dp from an old Echo Park Dots & Stripes paper pad, Hero Arts light blue pearls

My next card is a CASE of a card by Karen Mead.  When I saw her card I immediately added this Paint Spots woodblock stamp to my wishlist at Simon.  I think this stamp makes a perfect birthday or celebration card -  it looks like fireworks to me!  Wouldn't it look great embossed in metallics against a dark background?  And once again, the mixed font on the sentiment stamp is so appealing to me; I believe it's Kelly Rasmussen's handwriting.


supplies: Hero Arts Paint Spots and Happy Birthday to You woodblock stamps, mermaid lagoon distress, Ranger Electric Lime, Lemon Twist, and Cheese Puff dye inks, Simon's Hollyhock ink, and Hero Arts Punch ink, Simon's Stitched Rectangles dies, striped paper from Doodlebug's Sunkissed paper pad

I decided I wanted to back the stamped panels with a striped one, and so I pulled the ink colors from the striped paper.  

Now it's your turn!  We have a $50.00 gift voucher to the Simon Says Stamp Store for one lucky random winner of our challenge!

50dollar_voucher_600px

Simon Says Stamp

Do you use Instagram?  If you do, we'd love you to add #ssswchallenge to your challenge entry uploads so we can see them on there, too!

Sunday, July 19, 2015

Marika yellow

My favorite colors for roses are yellow, so of course I had to do a yellow version of Marika's beautiful card.  I thought I'd re-arrange her elements and use design papers this time.


supplies: Altenew Vintage Roses, Hero Arts/Studio Calico My Happy sentiment, Authentique Classique Beauty design papers, gold and black pearls, Sizzix branch with leaves die

Thanks for stopping by - I do love knowing you were here!

Sunday, July 12, 2015

CASEing Marika

I'm sure I'm not the only one to CASE THIS gorgeous creation by Marika on the Altenew blog recently.  I've seen at least one other CASE: an orange variation by Tammy.  So I decided to have a go, also, and my version is in pinks.


supplies: Altenew Vintage Roses and Painted Flowers (little leaf outline), sentiment from a discontinued The Craft's Meow Happy as a Lark stamp set, black, white, and doll pink cardstock, Sizzix Branch with Leaves die, pink and black pearls

I think Marika's sketch here is just about perfect, and I plan to do a series of these cards in different colors.  Stay tuned.......

Thanks for stopping by - enjoy the rest of your weekend!

Sunday, July 5, 2015

On Your Special Day

Once a month at the WPlus9 blog, Maureen has a Throwback Thursday challenge, using older stamps.  This month I was taken with her pretty pastel colors, and in particular, her heart card, so I set about making my own version:


supplies: Wplus9 Folk Art Florals and a few Fresh Cut Florals stamps, pale pink, melon, yellow and green inks, with the sentiment stamped in grey, pink pearls

Those curved leaf branches were a big help in making my heart shape!  I thought this would make a simple wedding or anniversary card, and with a change of sentiment, these soft colors would be perfect for a new baby, too!

Saturday, June 27, 2015

CASEing Jocelyn

This month's Gossip Column at Winnie &Walter is to be inspired by Jocelyn Olson.  I bookmarked that column when it came out earlier this month, and have gone back and forth with it ever since.  Finally yesterday I decided to have a go, and here is what I created:


I had a good look at Jocelyn's blog, and noticed several things: that she uses lots of white space and that she often dry-embosses her backing panel.  I also noticed that she uses bits of doilies on her projects, which I really like and decided to adopt.  So I decided to choose a card of hers to CASE and put my own spin on it, as Taheerah suggests.  I found a card HERE that I really liked: and went about finding my own elements to CASE that design.

I knew I'd use a bit of a paper doily, and I decided to emboss my background in a woodgrain pattern (Tim Holtz embossing folder).  I like the idea of rough and dainty against each other.  Then I went looking for a flower (Hero Arts  Lauderdale Floral) large enough and with enough detail so that I could heat emboss it on vellum using an aqua embossing powder.  Next I made my own little polaroid frame and covered a corner with some washi to bring in a bit more color and make it stand out from all the whiteness.  I attached my vellum flower and stamped my Winnie & Walter sentiment (Big, Bold Friends), and then assembled everything and popped the frame up on adhesive squares.  Lots of Jocelyn's designs show splatters of paint on the background at this point, but I wasn't that brave, so I added my own little bit of color with some tiny aqua pearls and a bigger one in the center of the flower.  And lastly I die-cut some leaves (Essentials by Ellen Bold Blossoms) and added them to the mix.  And to finish I mounted the whole panel on a backing of bias-striped design paper (Echo Park's Bundle of Joy Boy Dots & Stripes).

This was a very fun exercise and a good stretch for me - thank you Taheerah, and thank you, Jocelyn, for your inspiration!

Monday, June 22, 2015

Stamps & Washi

I loved the colors so much from the Colour Me challenge this week that I had another play with them.


supplies: white cardstock, Altenew Painted Flowers, Hero Arts Hello Sunshine Daisies (sentiment), various washi tapes, pearls

Here was our inspiration board:


And since I used washi tape along with my stamping, this will qualify also for STAMPlorations June challenge:

Tuesday, April 1, 2014

Virginia's View Challenge #2: Stencils

After a wildly successful 1st challenge, Virginia has posted her 2nd one today and it's stencils!  I played around with the stencils I currently own, but nothing was floating my boat, until I saw what Jacqueline did.  She used a die-cut as her stencil, and then my world of possibilities opened wide!  Here's my entry for today:


I already had a die-cut of this Impression Obsession Floral Lace Heart, and thought it would be fun to use it as a stencil, coloring in all the flowers.  First I used the actual die to make an embossed impression on my card front, then I taped the die-cut over it carefully and colored through it, using distress markers.  Most of the flowers don't have centers, so I added them with my beloved pearls, and then stamped my Hero Arts sentiment to finish.

I love the way this turned out!  Thank you, Jacqueline, for the inspiration!!

I'd also like to enter this into the Moxie Fab World's Styling with Stencils challenge.


Wednesday, January 30, 2013

Simon Says......Anything Goes!

Simon Says Stamp Challenge Blog

Happy Wednesday, and almost the end of January - can you believe it?  The end of the month challenges at Simon Says Stamp are always your favorites - Anything Goes!  Guest Designer Glenda, my teamies and I are using Penny Black stamps this week, and we'd love to see you using them, too, but it's not a requirement to enter our challenge.  Here's my card this week, using some of my favorite things: music, flowers, pearls, lace, and aqua!


This Penny Black Petal Party clear stamp set is fast becoming a favorite of mine - the flowers are just gorgeous, and can be colored as I did, or paper-pieced with equally lovely results.  I paired it with some music background paper, and some strips of paper from some older My Mind's Eye paper pads.  I stamped the sentiment from the set and trimmed it out using a Nesties Labels Twenty die, and then added some lace and aqua pearls to finish it.  I love the way it turned out!

Heidi is again offering the random winner of our challenge a $50.00 gift voucher to the Simon Says Stamp Superstore, to spend on anything you'd like!  


Need some ideas to get started?  Come on over to the Simon Says Stamp challenge blog to see some beautiful cards by the Design Team!