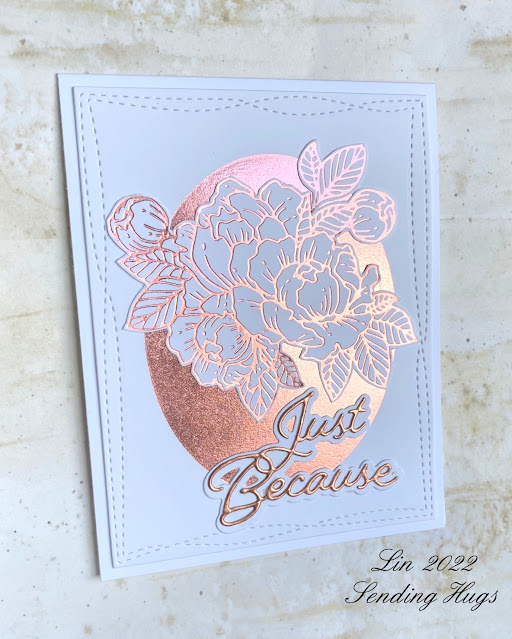
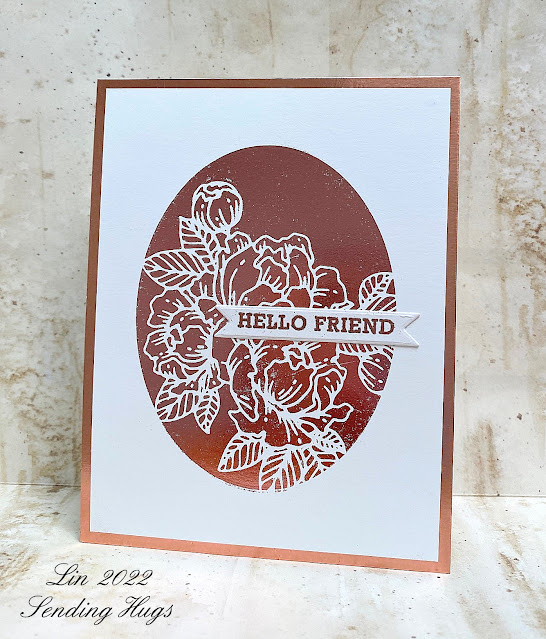
Spellbinders is releasing some new Solid Glimmer Plates in 4 different shapes! I was thrilled to be sent the Oval one, and I made 2 cards with it.
supplies: white card, Rose Gold Metallic card, Rose Gold Glimmer Foil, Solid Oval glimmer plate, Glimmering Peony glimmer plate, Memory Box sentiment die, MFT Wonky Stitched Rectangle die
To start, I foiled the Peony in Rose Gold on white cardstock, fussy-cut it out, and set the used foil piece aside for use on my 2nd card.. On a fresh panel of white cardstock, I then foiled the solid oval in the same rose gold glimmer foil.
I trimmed out the foiled oval panel, and attached it to a white card base, then added the foiled fussy-cut peony and a sentiment die cut from metallic cardstock. Here's a 2nd picture where I tilted the card to get you a better look at the gorgeous glimmer.
My 2nd card uses that left-over piece of foil from the above card along with the new Solid Oval glimmer plate once again.
supplies: white and rose gold metallic card, Solid Oval Glimmer Plate, recycled rose gold foil from 1st card, Hero Arts stamped sentiment, copper embossing powder
To make this card, I put the oval glimmer plate onto my glimmer machine and heated it as usual. When it was hot, I added the recycled rose gold foil with the peony design on top, pretty side down, along with a panel of white cardstock, and ran it through my Spellbinders machine to transfer the design. After peeling off the foil and discarding it, I trimmed my panel and placed it over a sheet of rose gold metallic cardstock, then added my embossed stamped sentiment banner.
Here's another picture with the card tilted to show the foiling.
Many thanks to Spellbinders for sharing this with me!


2 comments:
Beautiful foiling, Lin - just love how you recycled the leftovers from card one for card two! That flower spray looks amazing on the oval!!
WOW - what a wonderful pair of cards Lin - you have really made a couple of stunning cards with the foiling.
Blessings
Maxine
Post a Comment