Wednesday, January 4, 2023

Simon Says.......Something New


Welcome to the first challenge of 2023 at the Simon Says Stamp Wednesday Challenge Blog!


Our theme for this week is "Something New" - New Year, new baby, new marriage, a new crafting supply; however you'd like to play it!

Studio Light is a new company to me, and I chose 2 coordinating paper pads, 1 of them some beautiful pop-out ephemera, and both of them with a winter garden theme.  My card uses lots of elements from the ephemera pad.

supplies: white cardstock, green paper from Studio Light Greens Winter Garden paper pad, ephemera items from Studio Light Winter Elements Winter Garden die-cut Block pad, Honey Bee Fancy Flakes cover die

I really liked the idea of this lovely lantern to help brighten the dark days of winter, and surrounded it with some pretty winter greens, and a sweet little robin!   I held it together with Press'n'Seal, flipped it to secure all the pieces together on the reverse, and added some adhesive foam so that it would pop above my card base.  The Honey Bee pierced snowflake background is new to me also, but it's been around for awhile.

I'm sorry to say  that this particular ephemera pad is now sold out.  But if you search Studio Light DIY block, you'll find some others that you might enjoy playing with.

Now it's your turn!  We have a $25.00 gift certificate 


to the amazing Simon Says Stamp store for 1 lucky random winner of this week's challenge!  

Tuesday, January 3, 2023

Snow Much Love

 Here's another really easy card made from the goodies inside this month's Simon Card Kit.


supplies: white cardstock, Tim Holtz Winter Deco Glitter Sheet - blue, heart and sentiment from Simon Snow Love clear stamp set, VersaMark and white embossing powder, Pink Fresh Studio Folk Edge Rectangle die, tiny heart sprinkles

I was pleasantly surprised to see that you can stamp and heat emboss on the Winter Deco sheets!  Just do it as quickly as you can, starting with a hot heat gun.  This particular blue is a beautiful shade!

I added some tiny white heart sprinkles to a few of the snowflakes inside the heart and also near the sentiment.

This kit is full of fun goodies to make winter cards; hope you'll give it a try!

Monday, January 2, 2023

Spellbinders Clubs for January: Small and Large Dies and Embossing Folders

I'm pleased to be able to share my cards using supplies from some of the new Spellbinders January Club Kits! 

First up, the Large Dies of the Month: Club Blooms.  This is a huge set of 23 beautiful flowers and leaves!  I went with soft colors for spring on this one.  I have a feeling that this new floral set of dies will become just as popular as the Be Bold Blooms from a last year. 


supplies: cream, yellow, pinks and greens cardstock, Spellbinders Large Die of the Month: Club Blooms, Embossing Folder of the Month: Stylized Trellis, and sentiment from Log Cabin and Flower Mini Quilts

I layered the larger flowers and separated them with adhesive foam for some dimension.  I cut 3 layers of my sentiment.  The new embossing folder for January, Stylized Trellis, is a good basic that will be useful for lots of occasions.

Next is a card that showcases the Small Die of the Month: Sentimental Ampersand.  I  paired it again with a background made from the Embossing Folder of the Month: Stylized Trellis.


supplies: black cardstock, dps from Doodlebugs My Happy Place pad, Sentimental Ampersand dies and Stylized Trellis embossing folder

This paper pad I chose had a darling little floral print on black, so I cut the ampersand from that and centered it on my embossed black panel.  Then I used more papers from the same pad to cut out my sentiments, flowers, and leaves.  The die set includes 2 more sets of sentiments with dies to match and an extra piece to layer onto the ampersand which I didn't use this time.

This year there will be 2 Clubs for embossing folders, 1 a "regular" 2D folder, which you've seen on both cards above, and a new club for 3D folders!  Here's a card using the January 3D embossing folder of the month: Floral Archway.  This is a large folder with gorgeous flowers around the edges of a simple arch, where you can add your sentiment.  


supplies: Cream and green cardstock, Floral Archway 3D folder, Forest Glades ink, sentiment from Mix & Match Holiday Greetings dies

After cutting a cream panel a bit smaller than an A2 size, I embossed it, then gently rubbed on some green ink.  Then I found a green cardstock to match and cut out my sentiment, then matted the embossed panel.  These 3D folders have so much gorgeous detail that you don't need to do much more than let the design shine all by itself!

Next I went in a slightly different direction, covering up the arch with the largest flower, cut and embossed separately.


supplies: pool, foiled gold, and whitewash aqua cardstock, Floral Archway 3D embossing folder, gold foiled sentiment

I embossed first on an old piece of whitewash cardstock, then sanded off the details to appear in aqua.  Next I chose one of the flowers in the folder and embossed it on a scrap of white-core pool cardstock, and cut it out by hand, also sanding it lightly to bring out the details.  These were layered, matted in gold foil cardstock and pool, then the gold-foiled sentiment was added.

You can look HERE for information on Spellbinders Clubs.  Each is available only until January 28.  If you click on my links under each card, you can see the details of each product.

I'll be back in a few days with some more kits; thanks so much for stopping by today

Saturday, December 31, 2022

Looking Back at My Favorite Cards from 2022

 Every year I do a little round-up of my favorite cards from the past year - it's a good way to look back and remember the year. 

If you'd like details on any of these, just click on it, and you'll be taken back to its original post.


Not as much stamping anymore, is there?  Even sentiments are dies sometimes now, and embossing folders and cover dies are used for our backgrounds.  But, as always, I'm still stuck on my flowers and birds - some things DON'T change!

Sending you my best wishes for a creative 2023!  

Thursday, December 29, 2022

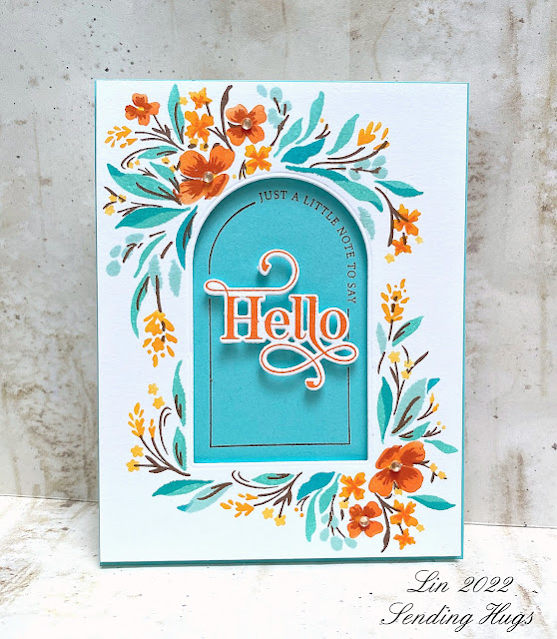
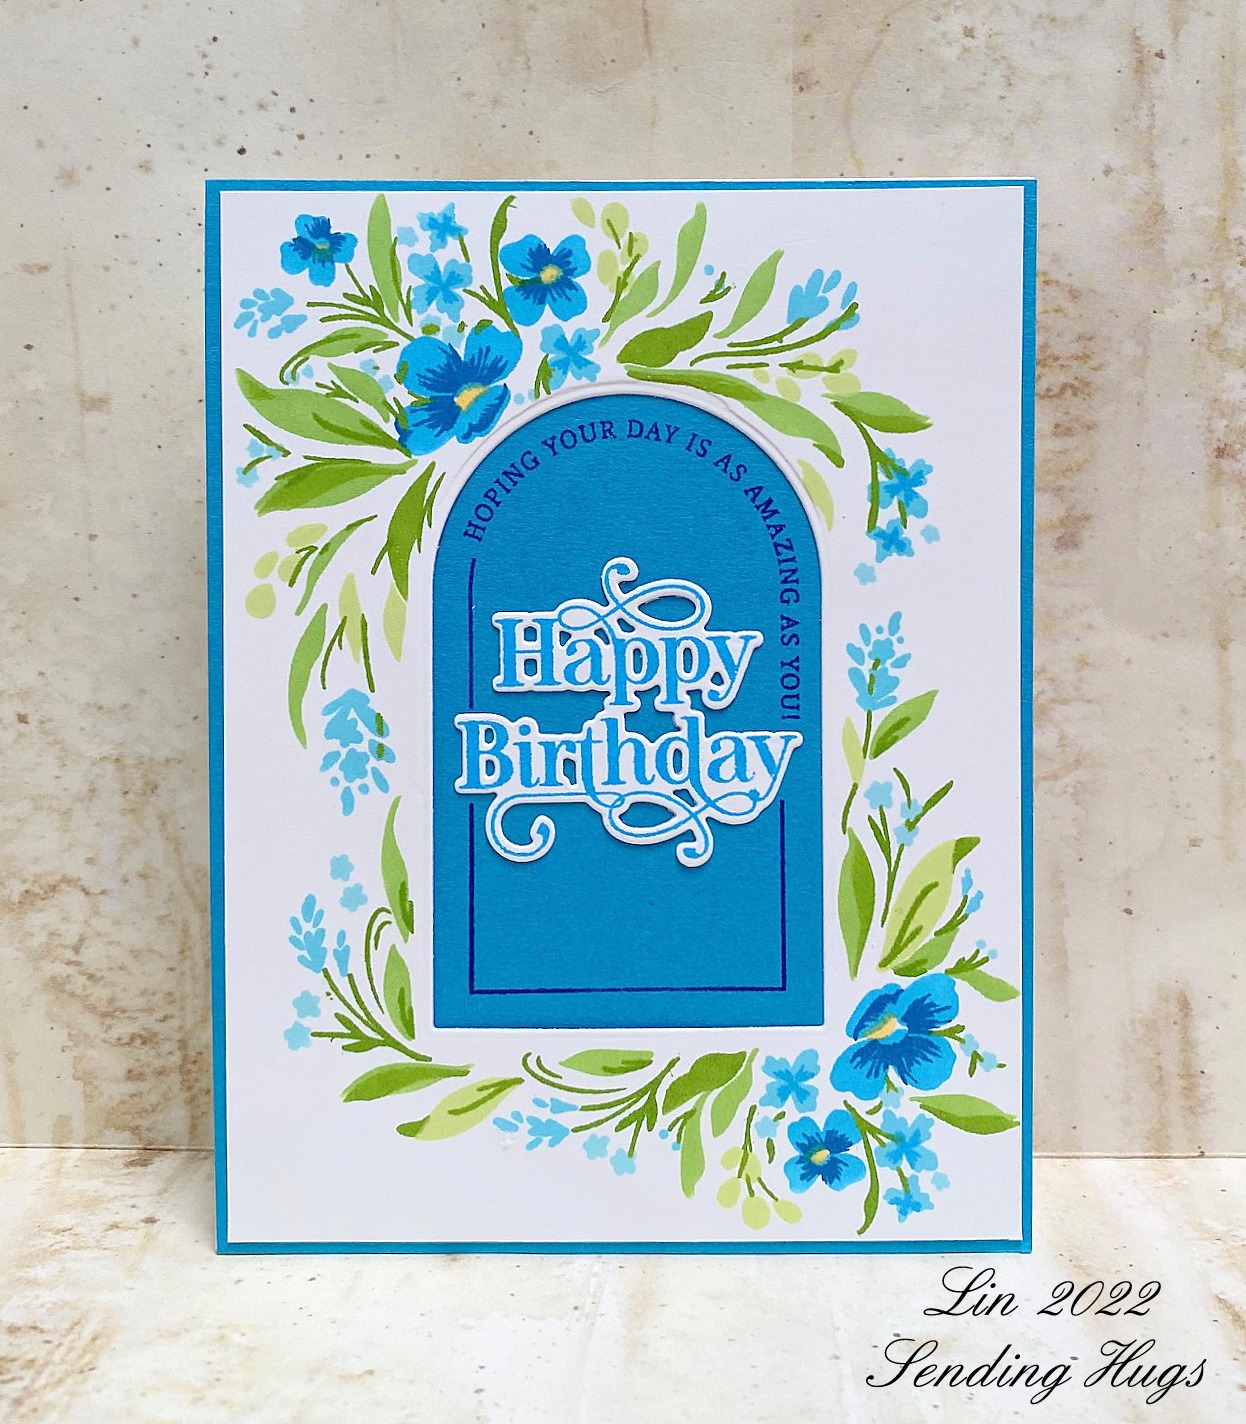
Floral Arches Birthday Cards

 I have 4 birthdays at the end of December, and I decided to make them all the same.  One was completed earlier this year, and here are the other 3.


supplies: white and Island Blue cardstock, The Greetery Floral Arches stamp/stencil set and matching die, Altenew Deep Blue Seas and Spring Bouquet greens mini inks,  Arched Sentiments stamps and matching die


supplies: white and purple cardstock, same supplies from The Greetery, Simon Trio 17 purple inks and Altenew Green Valley inks


supplies: white and Lipstick Red cardstock, same supplies from The Greetery, Altenew Red Sunset and Sea Shore inks, VersaMark and white embossing powder

After stencilling the arches on white cardstock and adding details with the matching stamps, I trimmed the panel as close as I could so that I could mat it with a solid color.  I also cut an arch from the floral panels, and after attaching that to my matting, stamped the sentiments.

On the first 2 cards I used one of the same inks to stamp the sentiments, but on the 3rd red card, I couldn't find an ink that would show up, so I stamped everything in clear ink and embossed it in white.  

These are all absolutely flat for mailing, but the floral panels could be raised, along with the "Happy Birthday" sentiments.

Which is your favorite?  I'm partial to the purple one today!

Sunday, December 25, 2022

Joy to The World!

 Merry Christmas!  I wish you all a Blessed holiday!

Saturday, December 24, 2022

Dashing Through the Snow

 From the weather forecasts I've heard lately, lots of us will be doing just this this Christmas!  

Today's card is just a play with some brand new and some older Tim Holtz stamps.


supplies: white and Schoolhouse Red cardstock, trees and sentiment from this year's Tim Holtz Bold Text/Falling Stars/Tree Lot stamp/stencil pack, winter sleigh from Tim Holtz Deco Christmas, bundled sage, rustic wilderness, and lumberjack plaid distress inks, PinkFresh Studio Folk Edge die, (retired) Snow Flurry embossing folder

I stencilled the pines, stamped the sleigh, then overstamped the sentiment before embossing with a snowflake folder and trimming the panel down so that my mat would be wider than usual.

Wishing you and yours a safe, white, Merry Christmas!

Thursday, December 22, 2022

Hello Winter!

 My Simon Says Stamp Card Kit arrived yesterday, on the first day of winter!  I was inspired by the beautiful Color Blend cardstocks and the sweet snowflake in the Kit  to make this card.


Simon Color Blend cardstock, Matte Silver cardstock, silver glitter cardstock, VersaMark ink and silver embossing powder,  Aiden Snowflake and Sophie Snowflake dies, sentiment from Snow Love clear stamp set, a Tim Holtz Ideaology Snowflake adornment, adhesive foam squares

I cut the Sophie snowflake (not included in the kit) from matte silver and the Aiden snowflake from silver glitter card, stacked them, separating them with a tiny adhesive foam square, then added one of the Snowflake adornments on top.  This was attached to the color blend cardstock base, on which I had stamped and silver embossed my sentiment.

One of the best things about Simon's Card Kits are the wonderful assortment of goodies included in each one.   I would probably not have even known about these delicate snowflake adornments, and it was wonderful to get a set of the new color blend cardstock - they are beautiful!  

Here's the kit:


Wednesday, December 21, 2022

Simon Says...... Party!


Welcome to the new challenge at the Simon Says Stamp Wednesday Challenge blog!


Our theme this week is "Party!", and the team is playing with our own Simon Says Stamp exclusive products!  

This challenge will last for 2 weeks.

I made a shaker card for this week's challenge.


supplies: Printed papers from My Favorite Things Happy Patterns and Sunny Studio Rainbow Bright, Simon largest Balloon Trio die, Life is a Party sentiment, and Disco Ball sequins, baker's twine, clear plastic and circle die to create shaker, adhesive foam

Now it's your turn!  We have a $25.00 gift certificate 


to the amazing Simon Says Stamp store for 1 lucky random winner of this week's challenge!  


Tuesday, December 20, 2022

Bottle Brush Trees

 Something jogged my memory when I saw Tim Holtz's new Bottle Brush Tree stamps this year, and sure enough, with a little digging, I found a stamp set from Hero Arts in 2014 that had 2 sizes of them.  I think I probably only used it once HERE, so now's the time to dust it off!


supplies: ivory and dark green cardstock, Hero Arts Family & Friends clear stamps (trees and sentiment), MFT Wonky Stitched Rectangle die, oxide inks: rustic wilderness, pine tree, evergreen bough, vintage photo, and candied apple inks, little wood stars, glue pen and glitter, dark red pearls

I was unable to capture it in my photo, but I used a glue pen anywhere there was a teensy white dot on the trees and then sprinkled on some glitter.  It's a detail that makes this card a little more festive, but still rustic.

Now that I've rediscovered this set, I may do another card in bright colors.  Thanks for stopping by!

Sunday, December 18, 2022

A Christmas Rose

 Recently a sweet friend sent me a gift card and I treated myself to a set of dies that have long been on my wishlist.  These Lovely Layers Rose dies will be used mostly in the warmer months, but I wanted to give them a test run, so I made a Christmas card with them for today's post.


supplies: Lipstick Red and Cream cardstock, various reds from Memory Box Berry Reds and greens from Lush Green paper pads, Honey Bee Lovely Layers Rose, Simon Detail Ringlet cover plate die and a Christmas sentiment strip, adhesive foam squares

The rose consists of 7 layers, which can be a problem when finding that many shades of a color , but I doubled up on 1 of the lower layers, as hardly any of it shows.  Next time I play with these, I'll try using inks and varying the intensity of them.  They go together quickly and easily and, as with many of Honey Bee's layering flowers, give a lovely result; even the stems and leaves use 3 shades of green.

I wanted a subtle background to let the rose be the star, and this Ringlet Circle die fit the bill perfectly!

Thanks for stopping by for a visit today!

Friday, December 16, 2022

Chilly & Freezy

What a fun surprise for Heidi at Simon Says Stamp to start off DieCember with this darling set of snowmen dies from Tim Holtz!   Mine arrived a few days ago and I couldn't wait to play!  I should have posted this sooner, as the dies are now sold out - hope you got a set for yourself!


supplies: white, various solid cardstock, snowy background from Whimsy Stamps Blurry Flurries pad, Tim Holtz Chilly & Freezy snowmen dies, (includes heart), Woodland tree, sentiment from Simon's Snowflake Season, tiny white pom-pom, adhesive foam to pop up snowmen

I thought I'd pair these little cuties with a tree, and since there's a heart die in the set, they are decorating it for Valentine's Day, maybe???  You know me and my hearts.......

Are you ready for Christmas?  I sent my cards out earlier this week, far fewer than in past years.  I hope that Christmas cards won't fade away like so many other things have........hope I can do better next year.

Enjoy your weekend!

Wednesday, December 14, 2022

Simon Says......Ice Cold


Welcome to the new challenge at the Simon Says Stamp Wednesday Challenge Blog!


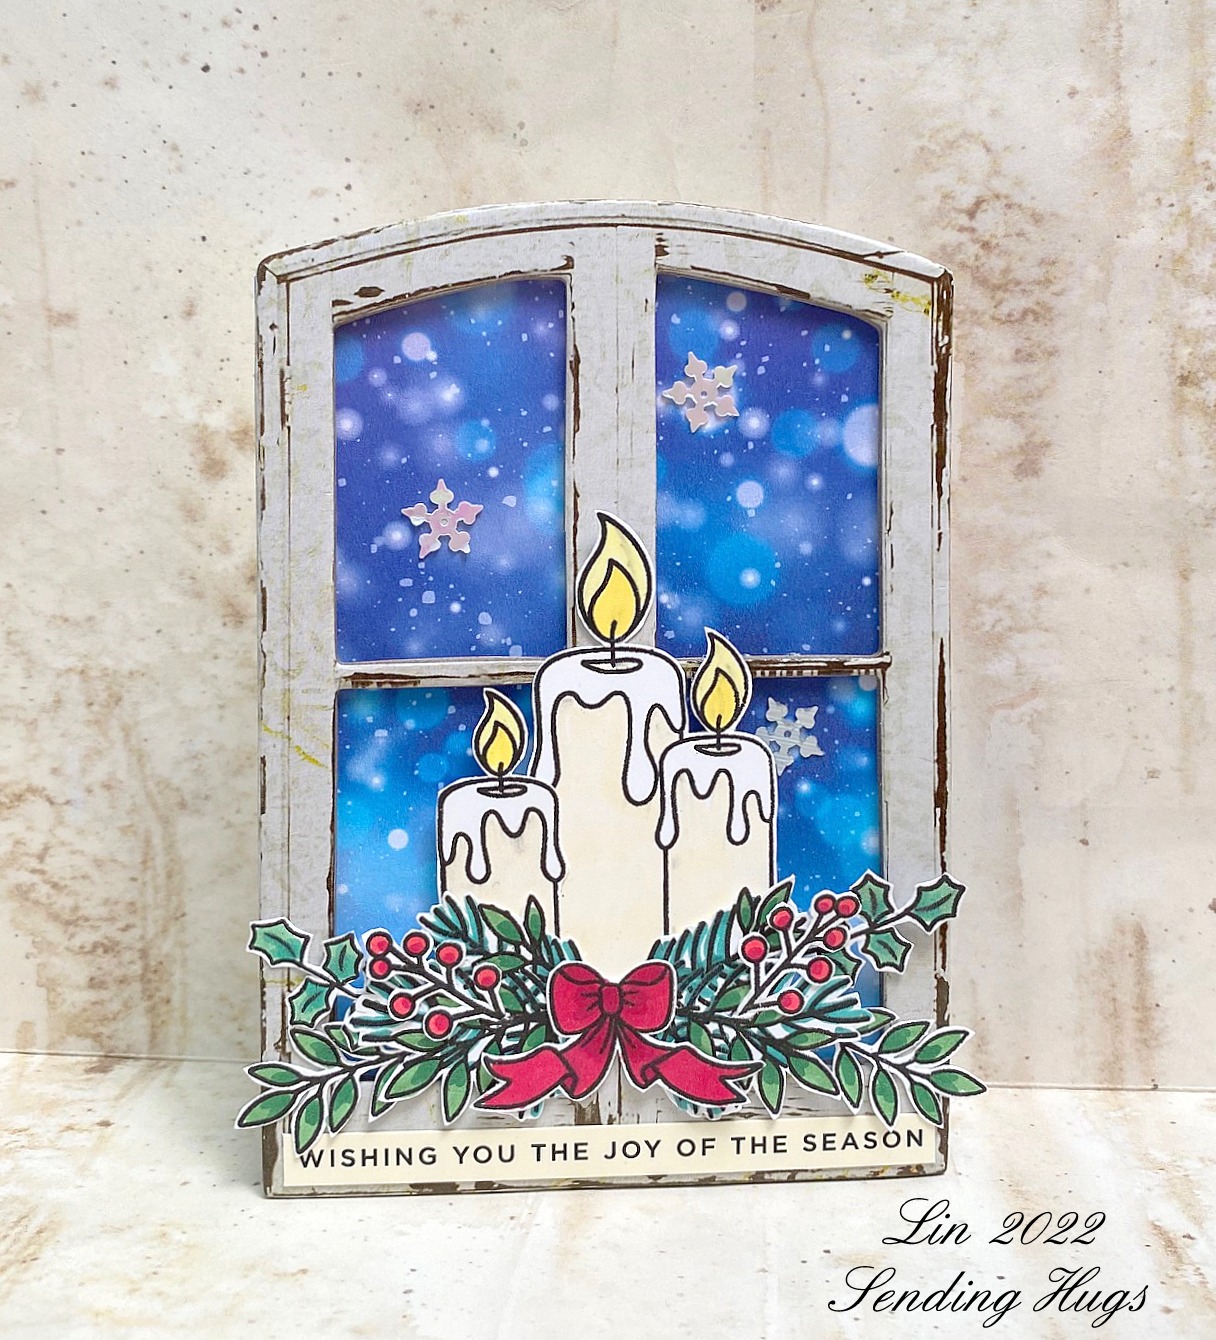
This week our theme is Ice Cold, and the team is featuring Avery Elle products.  I made a window-shaped card.


supplies: white cardstock (for card back), Blurry Flurries design paper, Avery Elle Candlelight Christmas clear stamps, Tim Holtz Baseboard Window Frame, Simon sentiment strip, snowflake sequins

I chose my elements to make my window arrangement, colored them, cut them out, and arranged them. Then I glued them onto the window frame.  I backed it with a nighttime falling snow paper, and used the frame to cut out another piece of white cardstock to use as my card backing.

This is exactly how we decorate our home for Christmas, except that the greens are outside each window, and the candle inside.

Now it's your turn!  We have a $25.00 gift certificate 


to the amazing Simon Says Stamp store for 1 lucky random winner of this week's challenge!  I can't wait to see what you all make this week!